
Okay guys, I am back again with a wonderful Photoshop tutorial where you'll learn to create tasty flat, pixel-perfect iOS 7 icon. This tutorial will also help you learn some useful techniques with a step-by-step process to create the pixel perfect 256x256px mobile icon.
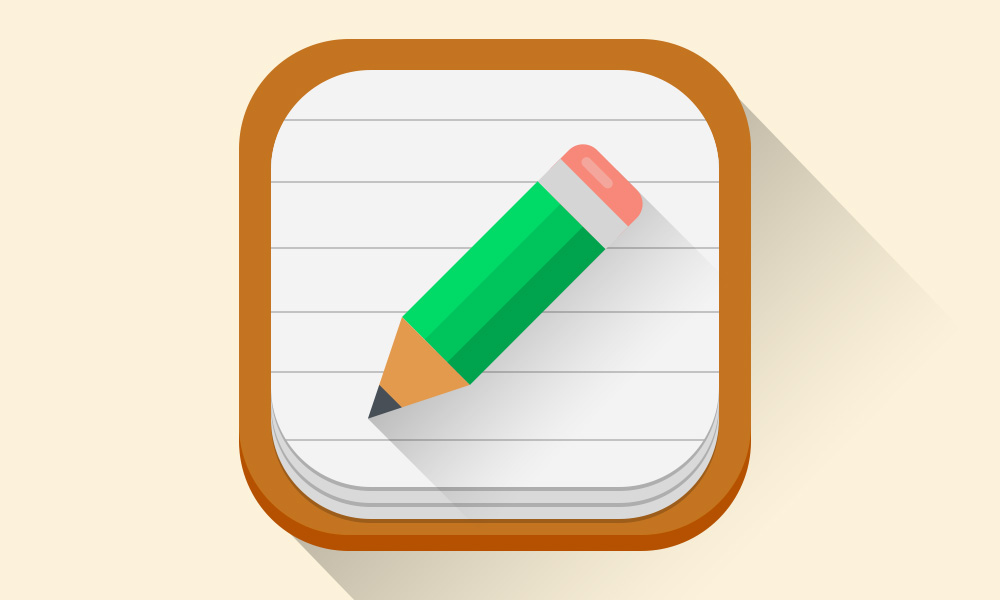
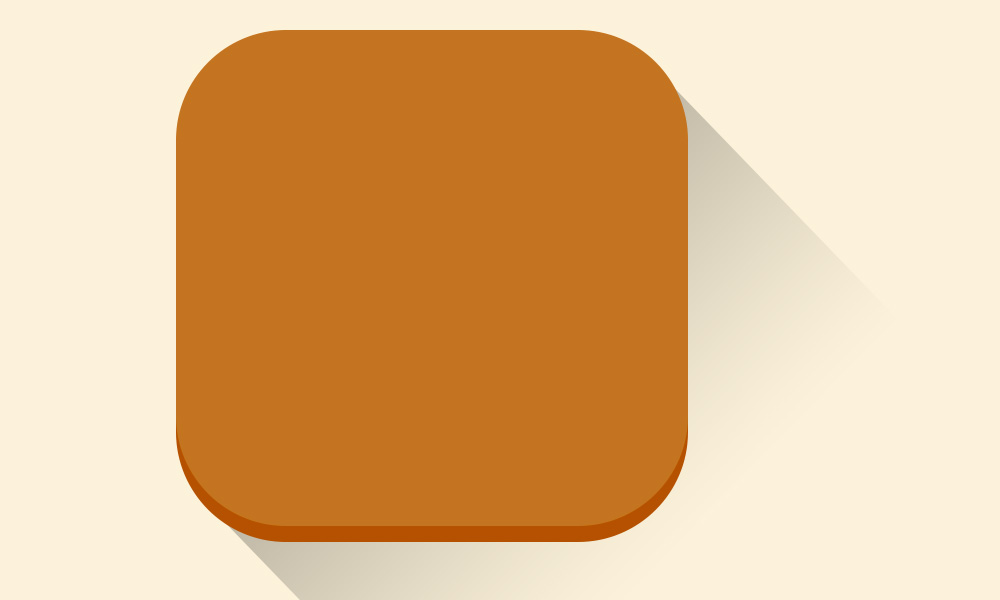
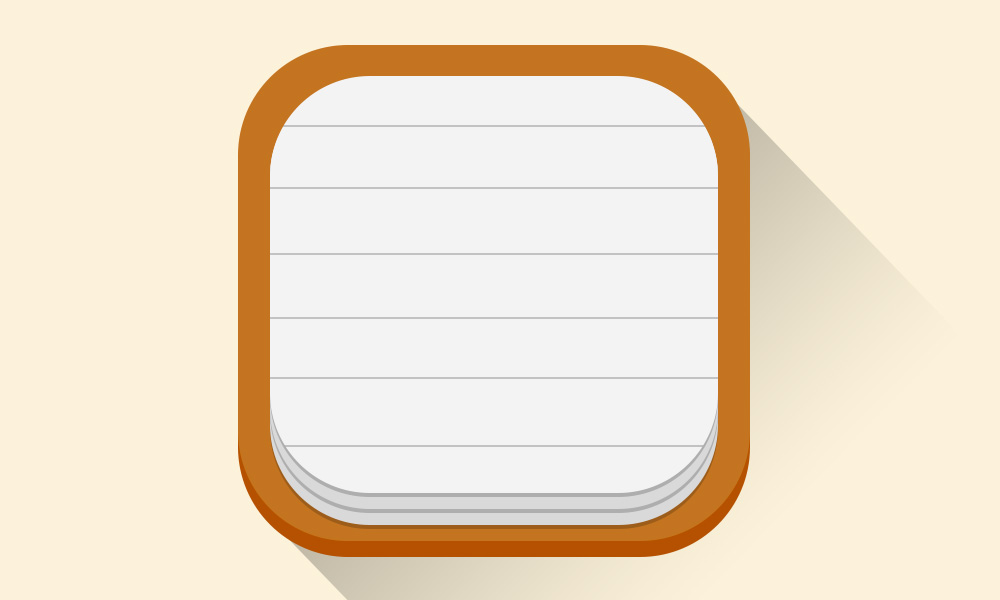
Here’s the final output of the icon you’ll be creating.
Part-1. Base of Icon
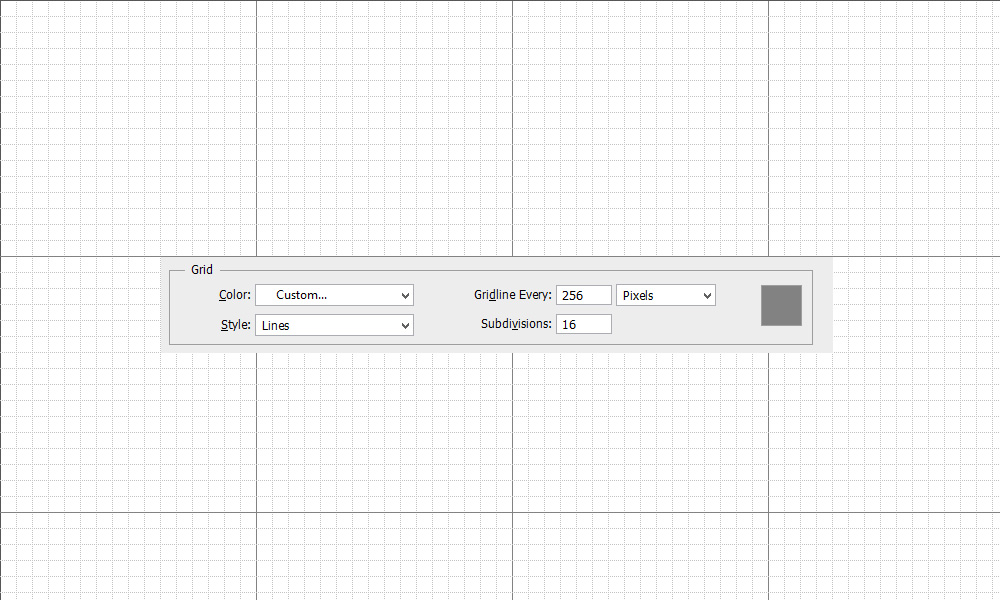
Let’s begin with a new document with a size of 1024 x 1024 px and set the background color to # fcf2da. Go to Edit > Preferences > Guides, Grids & Slices and set the Grid to 256px with Subdivision of 16px.
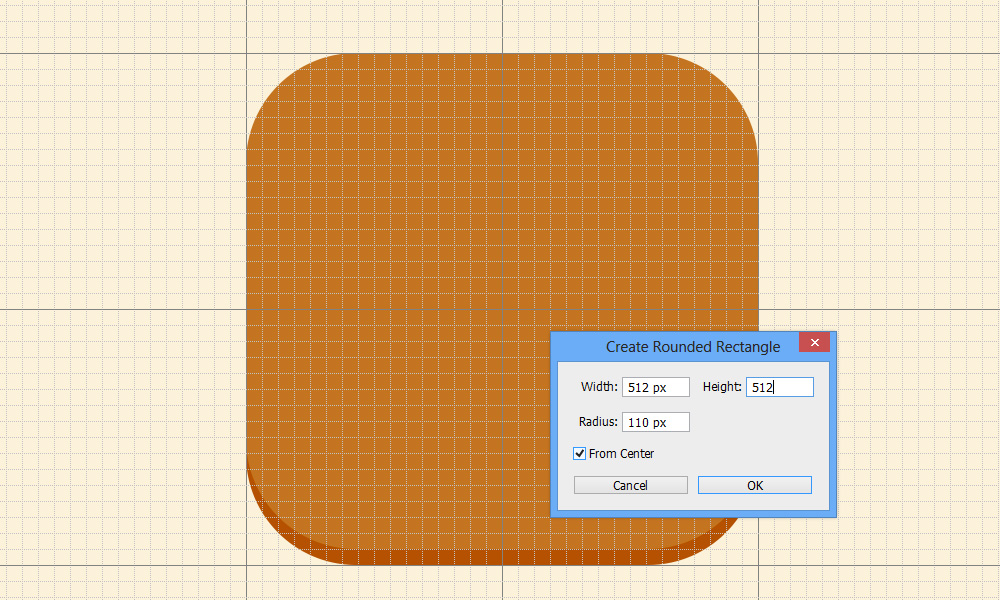
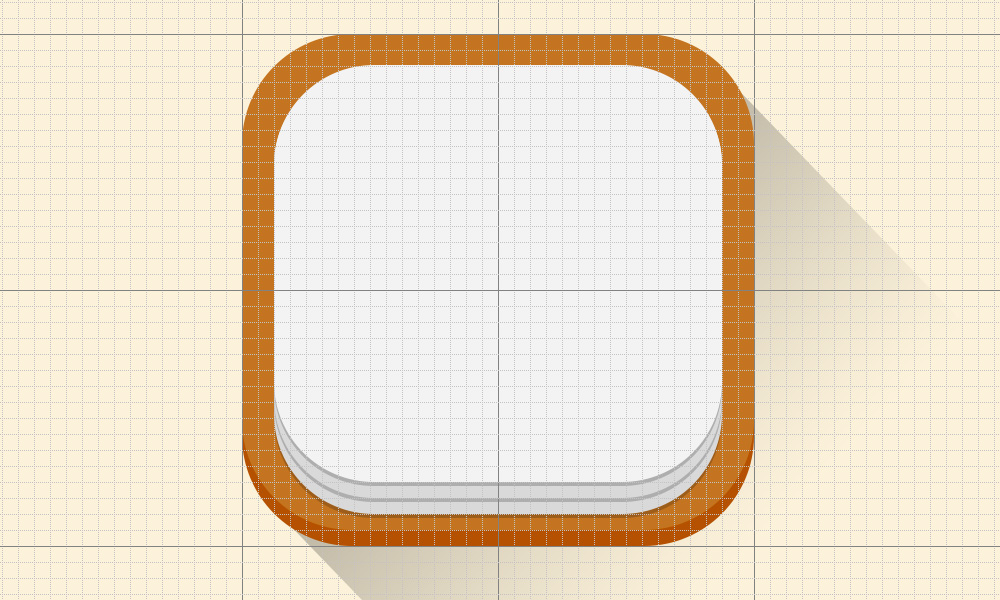
Now using the Rounded Rectangle Tool (U) create a shape layer with a size of 512x512 px with a radius of 120 px. Make sure that it’s a “shape” layer. (Select the Shape option from the Pick Tool Mode from the top left, if it’s not already selected.) Pick the color of the shape to # c47420 and name the layer to “icon base”.
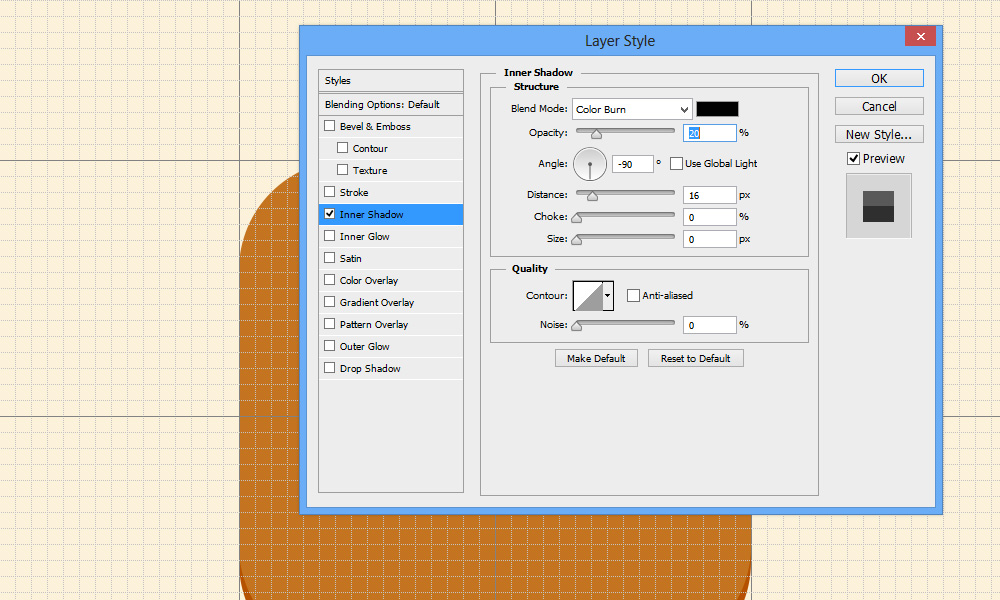
Add Inner Shadow for the layer as shown below.
Now let’s add long shadow to the icon base. For that, create a rectangular shape using Rectangle Tool (U) and move down the layer under the “icon base” layer by clicking Ctrl/Command + [ (open bracket). Rotate the rectangle layer to -44 degrees and adjust the top edges of the rectangle diagonally as shown below.
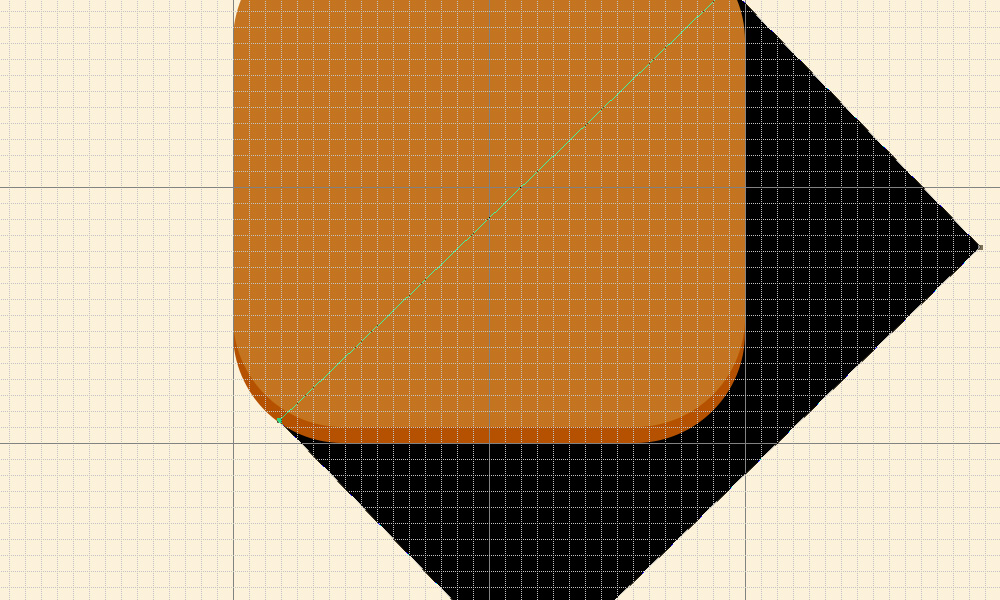
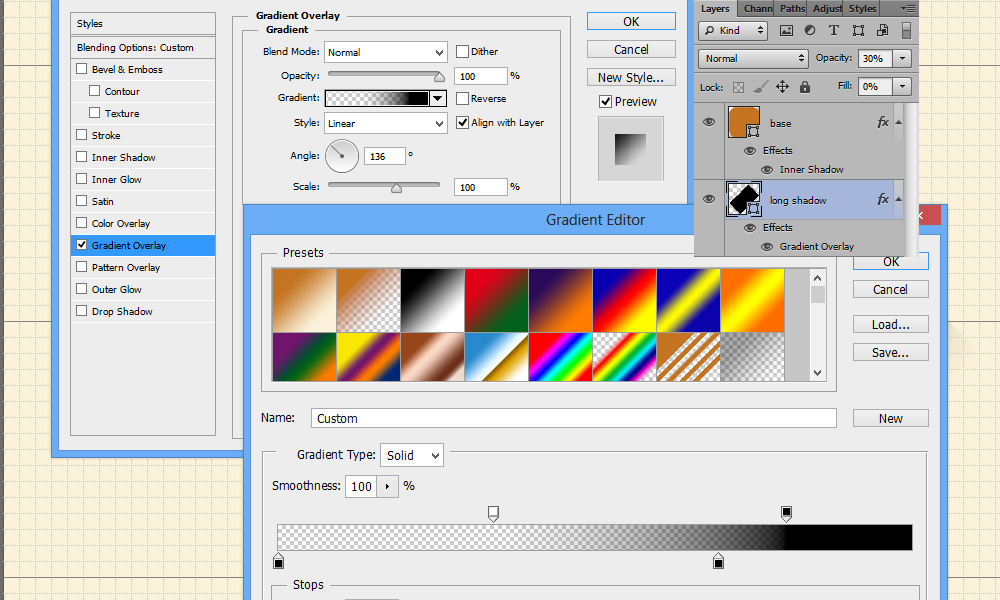
Now to make the shadow fade away as it goes down long, add the following gradient effect and values. Make sure that the Layer Fill is set to 0% and the Layer Opacity is to 30%.
Now the base of the icon looks like this.
Part-2. Creating Note Papers
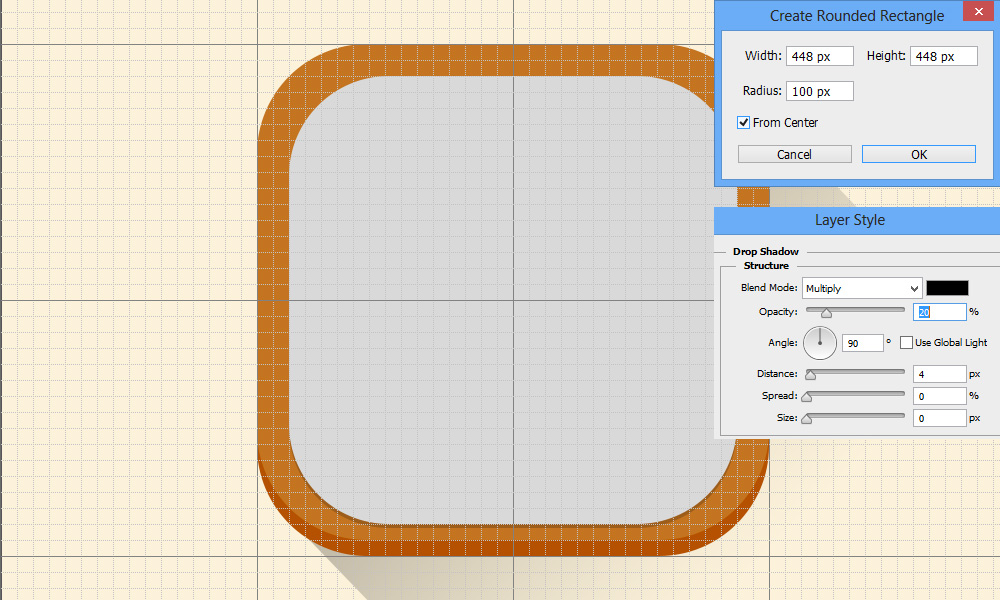
Okay the 2nd part of the icons is notepapers. Let’s create a set of papers, and for that start with the paper at the bottom. Select the Rounded Rectangle Tool (U) and draw a rounded shape with the measurements of 448 x 448px with a radius of 100px. Double click the shape layer and set the color to # d9d9d9.
Now duplicate the layer (Ctrl/Command + J) and reduce the bottom height of the paper by 16pix. A quick technique to reduce the height of the shape is to select the shape layer by clicking on it with the Direct Selection Tool (A). Then hold the right-click of your mouse and drag the Direct Selection Tool on the lower portion of the curves, so the anchor points of the shape are selected. Once the anchor points are selected, use your Up-Arrow key on your keyboard and move the corners up by 16px.
Once you are done with it, duplicate the layer to make the top or first paper. Repeat the same process as mentioned above to reduce the height of this paper. Change the color of this layer to # f3f3f3, so the top paper looks a little brighter compared to the middle and bottom paper.
Adding lines to the paper is easy. Here’s how you can do it. Hold Shift on your keyboard and draw 6 black (#000000) lines with 2px height as show below. If you are using CS6 or cS5 you can draw the lines individually and then select the line layers and merge them as single shape layer by right clicking on the selected layers and selecting Merge Shapes from the option panel. You can also use Ctrl / Command + E to merge the selected shape layers quickly.
Now, as you see, the lines extend beyond the paper shape, which looks odd. To hide the extra parts of the lines by, right click on the lines layer and select Create Clipping Mask from the panel. See how the extra parts are hidden. Now reduce the Opacity of the lines layer to 20% to make them look nice and realistic.
Here’s what the icon looks so far.
Part-3. Creating Pencil Icon
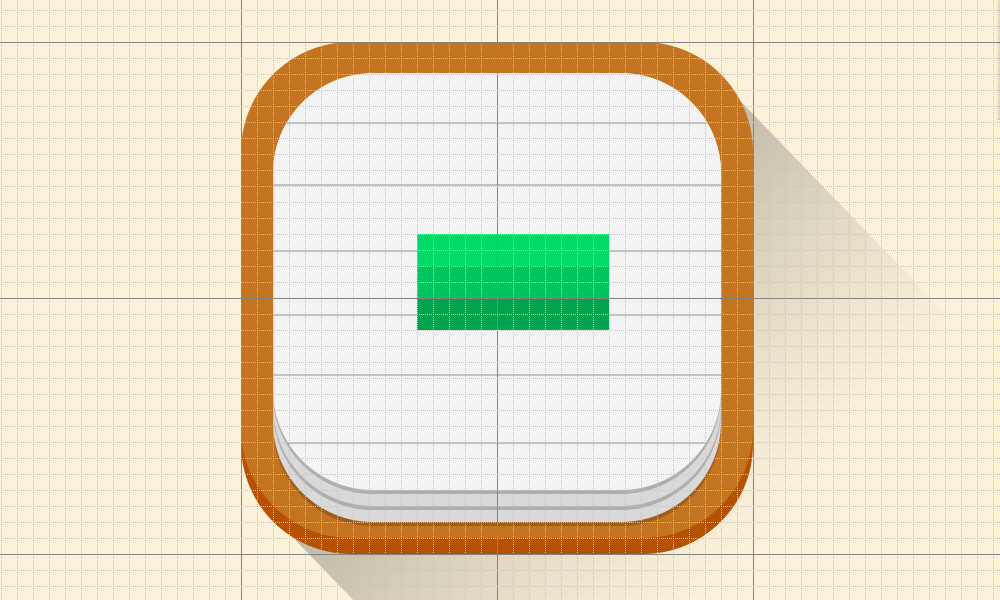
In this third and final part, we are going to create long shadow flat pencil icon. Let’s start with the pencil shaft. Draw a rectangular shape using the Rectangle Tool (U) with a size of 192 x 96px. Change the layer color to # 00da67 or whichever color you prefer.
Now create another rectangle shape layer with the same width but height should be 32px. Change the color to black (#00000) and reduce the layer opacity to 25%. Duplicate the layer and change the opacity to 10%. Now adjust both the layers as shown below to make it look nice with curve shapes.
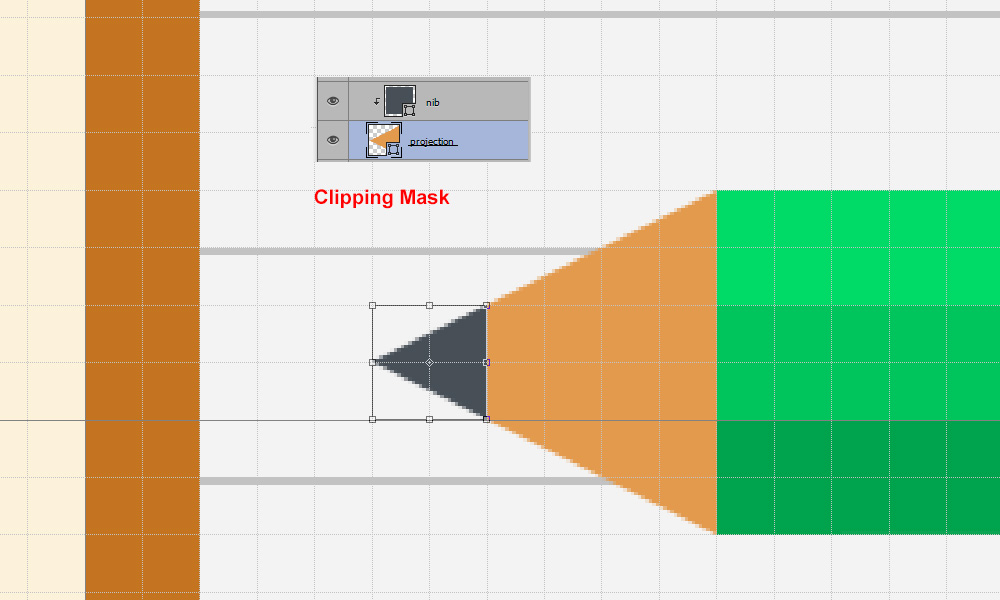
Next create the pencil projection and nib part. For the projection, draw a 96x96px shape triangle. Change the color of the layer to wood brown (#e39a4d) and adjust the right of the triangle so that it touches the left of the pencil shaft. Zoom the part and make sure that the triangle touches the edges perfectly without any gap.
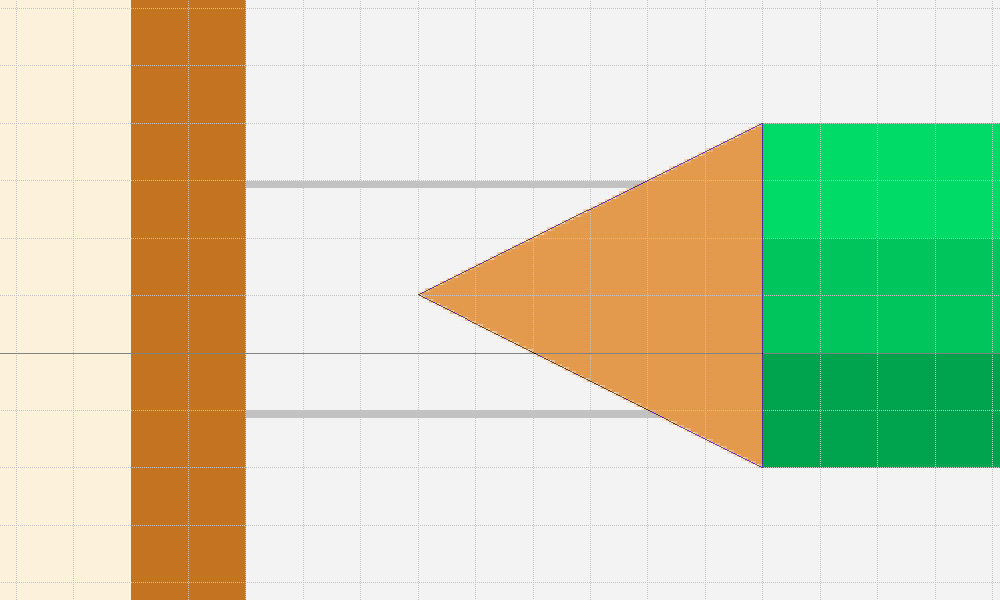
For the nib part, make a 32x32px square shape using Rectangle Tool and change the color to dark grey (#474f57). Move the square so it rests on the tip of the triangle and clip-mask the layer by right clicking on the layer and select Create Clipping Mask from the panel.
Let’s create the rubber part of the pencil. First, draw a 64x96px rounded rectangle with 20px radius. Change the color to # f78879 and move the layer so it touches well with the right of the pencil shaft. Name the layer as Rubber.
Create a little shine on the rubber. For that draw a small rounded vertical shape with 10x40px size. Change the color to white and reduce the opacity to 30% and move it to the top right of the rubber layer.
Now create another vertical rectangle shape layer with size 32x96px. Change the color to light grey (# d5d5d5). Keep it on top of the rubber layer and adjust it as shown below.

It’s time to add long shadow to the pencil. Draw a rectangle shape in black color from the tip of the pencil to the edge of the rubber part. The rectangle size can be 352x160px. Name the layer as “Long Shadow”.
Since we already created long shadow layer for the icon base, let’s copy the gradient effect from that layer and apply it to the pencil long shadow layer. Here’s what it will look like.
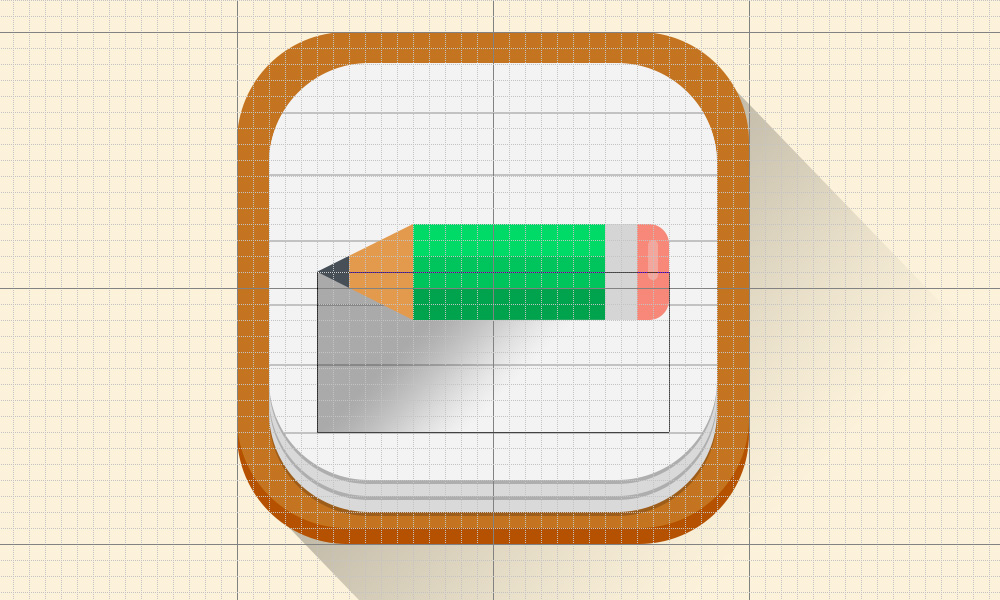
Well, the icon and the long shadow don’t look just good. Do they? So let’s do the final trick. Select all the layers in the pencil part and it’s long shadow layer and create a folder (Ctrl / Command + G) and name it as Pencil. Select the folder and go to Edit > Free Transform (Ctrl / Command + T) and change the Set Rotation value to -45%. Adjust the pencil folder so it’s in the center of the icon.
Here’s the final icon.
Hope you enjoy this tutorial. Create your own flat icons using some techniques mentioned in this tutorial and post them in the comment box. If you’ve any questions, feel free to ask me.
Download the iOS 7 Flat Icon PSD (Tutorial)


6 thoughts on “Create a Flat iOS 7 App Icon in Photoshop”
good tutorial for me who learn about design of photoshop aplication .
nice info , but how to make app icon more interesting and eye catching ?
good tutorial , i always learn this tutorial but is result bad , i don’t know what i can make it or not .
nice info , but how to make app icon more interesting and eye catching ?
icon iphone sweet, but I prefer to make use coreldraw than Photoshop, but it was a very nice
Nice tutorial! Thank you for your smart ideas! 🙂 I am waiting for the next interesting post!