Imagine building a landing page from top to bottom, complete with headers and footers, without any need for writing code.
Can’t be done you say.
Yes, it can – we say.
As it turns out, doing so is about as difficult as putting together a puzzle designed for the 8 to 12-year old crowd, and you can do it on WordPress with a little help from a popular, intuitive tool called the Visual Composer Website Builder.
What the Visual Composer Website Builder Is All About
This premier website building tool consists of a live-preview editor coupled with ready-to-use page-building elements and a drag and drop page-building capability.
Together, they make building a landing page about as easy as one could possibly imagine.
This is due in part to doing the content and visual hierarchy management design tasks 100% visually. Since you see the changes you make instantly, there’s no need to take the bothersome back and forth change, view, and revise approach.
Three key features put Visual Composer in the spotlight:
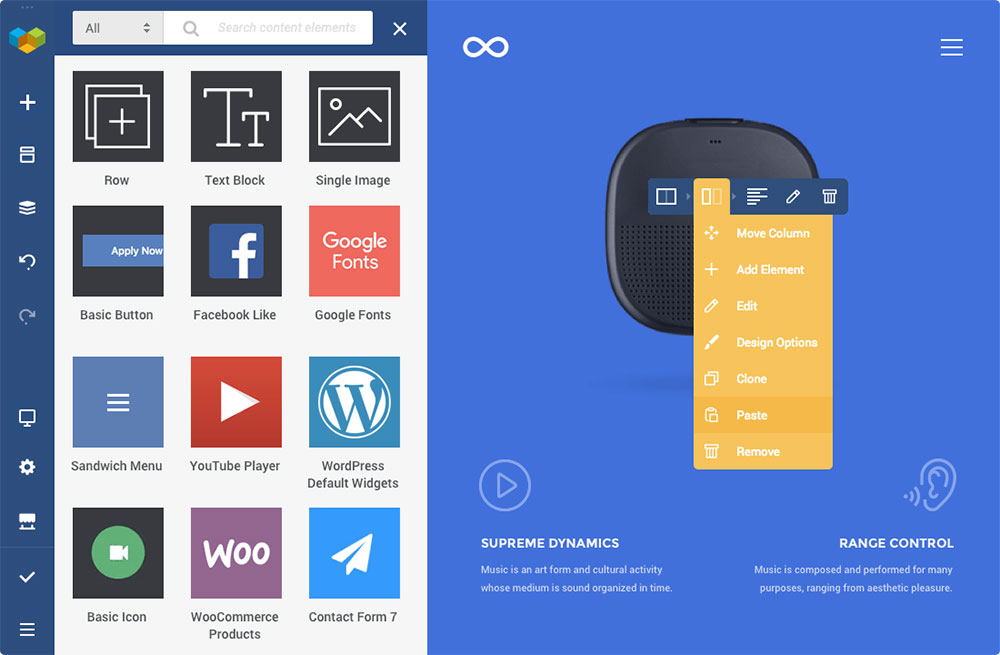
1. The Hub
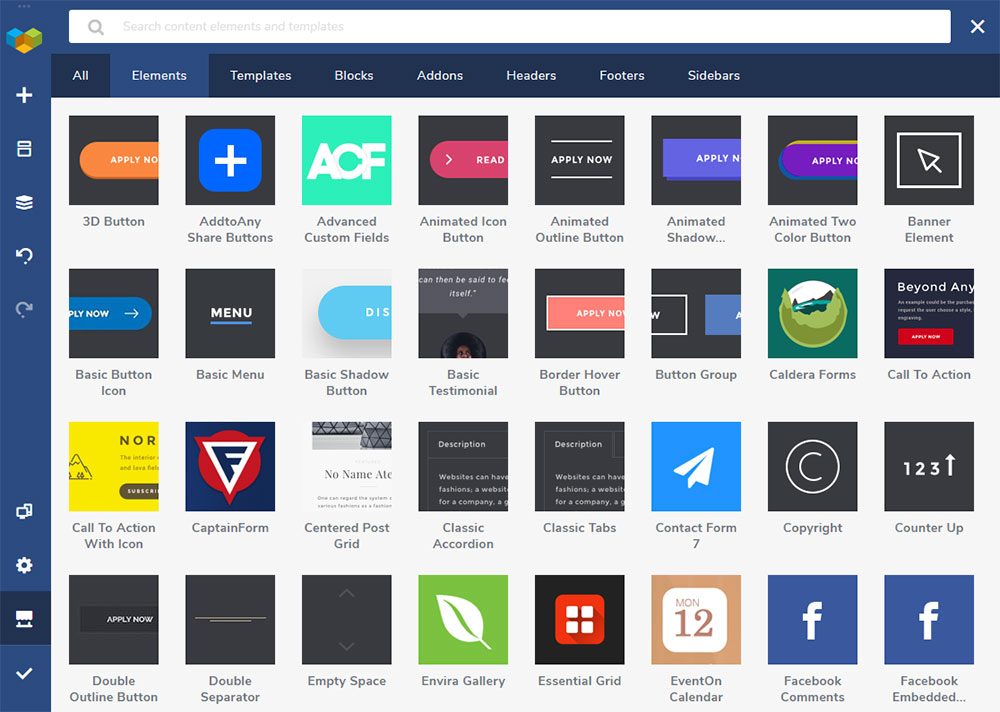
The Visual Composer Hub is a cloud-based repository in which you’ll find all the design elements that have been made available to users. There are plenty of elements, blocks, and templates to choose from and work with, and new ones are constantly being added.
Better yet – you only need to download what you actually plan to use.
2. New technical stack
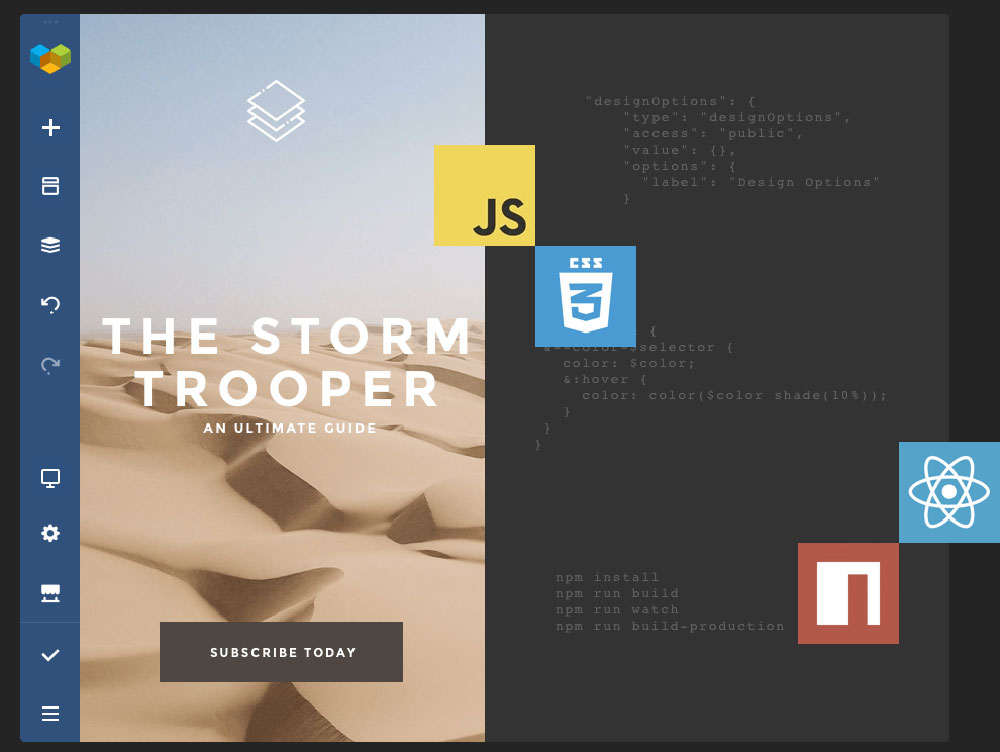
Visual Composer resides on a new ReactJS-powered technology stack that has the advantage of not needing the use of shortcodes. As a result, you can not only expect superior performance, but you avoid having messy problems to clean up when you uninstall the plugin.
3. API
Since a well-documented API comes with the package, you can extend Visual Composer with your own custom elements if you have the coding skills to do so, This can be helpful for some custom projects you take on; and it’s helpful for developers as well.
Other features of prime interest include:
- Page editing using both a frontend editor and a tree view which allows you to easily navigate through the elements;
- Ready-to-use WordPress templates for pages of all types;
- Visual Composer works with any theme, including those you may already have;
- Visual Composer’s elements and templates are responsive and mobile-ready;
- An impressive array of add-ons is available in the Hub and from third-party developers;
- You can change Header, footer, and sidebar layout quickly with the visual editor*.
- *Available in the Premium Version
*Available in the Premium Version
How Does Visual Composer Differ from WP Bakery?
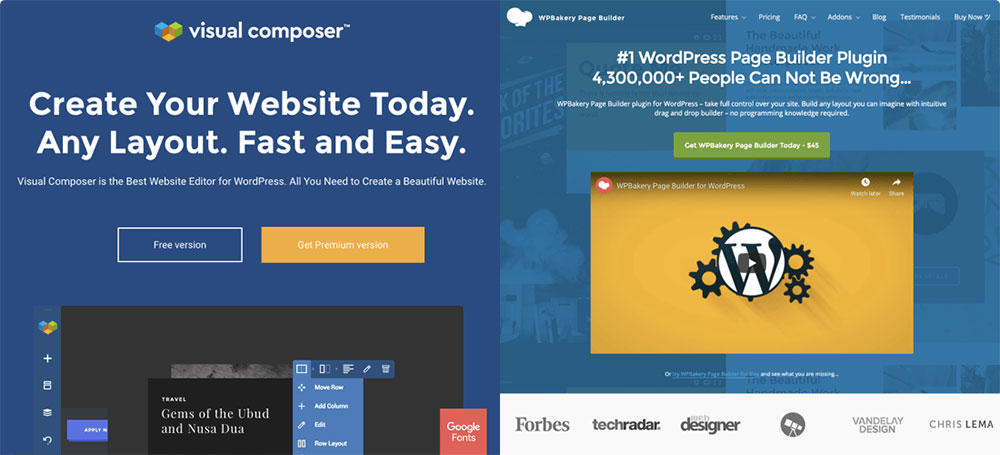
Visual Composer Website Builder is not an “advanced” version of the WPBakery Page Builder as many have been led to believe. It is a completely different plugin. Part of the confusion may be due to the fact that both plugins were created by the same team.
Two Key differences:
- Visual Composer lets you build a full website complete with headers and footers; WPBakery only works on the content part of a page.
- The Visual Composer website building platform is ReactJS driven with no shortcodes; The WPBakery page builder is a shortcode-based plugin
To see the full list of differences between two plugins click here.
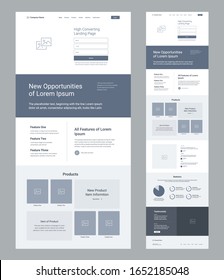
Building a landing page with Visual Composer in 7 easy steps
Now, we’ll show you how easy it is to build a landing page with this drag-and-drop editor.
Step 1: Create the layout

You’re provided with a selection of ready-to-use layouts to choose from and start with. You’ll find them under Add Template. Pick one that suits your needs and click “+”.
Step 2: Customize the selected layout
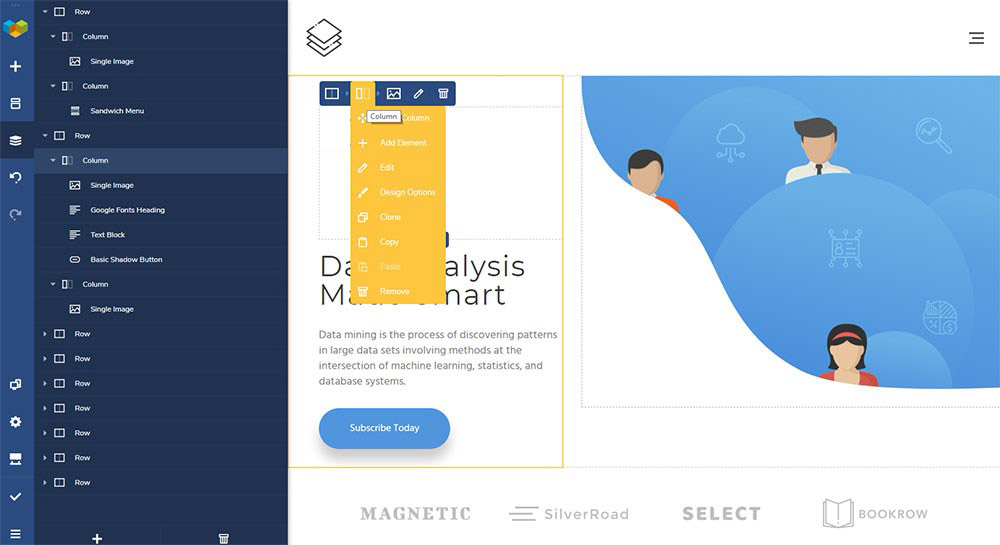
Each layout consists of a number of rows and columns, where the rows define a page’s logical structure and the columns define various properties. Visual Composer lets you select the number of columns in a given row.
You can customize a layout’s properties, add or remove elements, alter column size, or change an element’s styling options by drag and drop.
You can modify UI element properties with the visual editor or the tree view of elements. To activate a screen the displays an element’s styling properties, click on the Pen icon.
Step 3: Stretch the content
You can choose whether to stretch or box the layout you’re working with. Simply switch the Stretch Content toggle to On to take content to full width.
Step 4: Adding the top menu
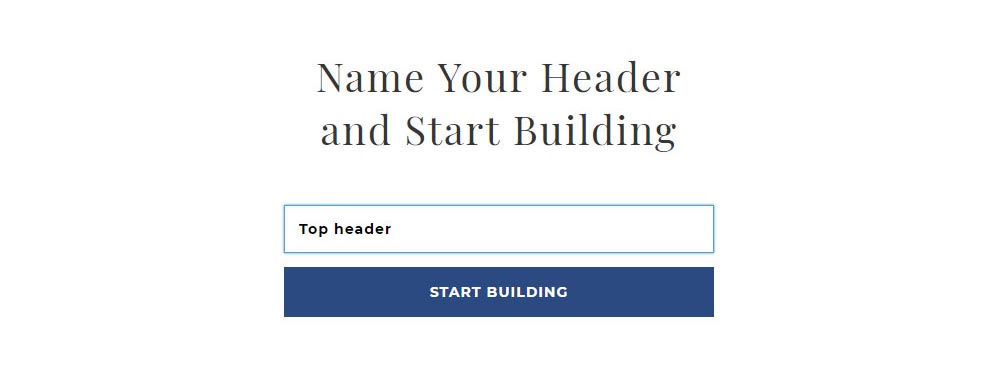
Go to Visual Composer Headers, click on the Add Header button, write a title for your header, and click on the Start Building button.
Having done that, you will be directed to the Hub where you can download all the elements you need for your header. Type menu in the search box and choose either the Basic or Sandwich menu option.
Next, you’ll need to choose the menu source, modify your navigation options, and align your menu.
Step 5: Add a header
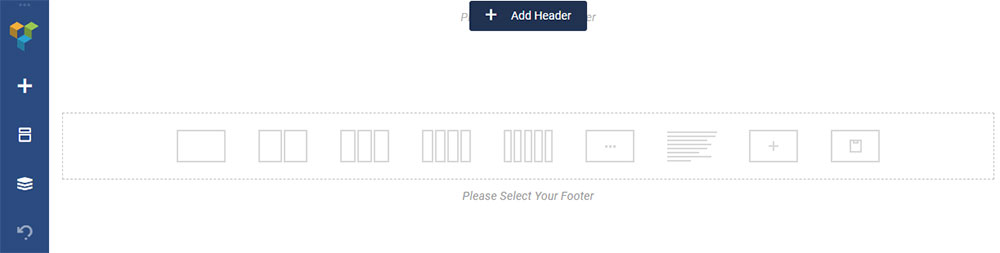
Now it’s time to add a header your page; which is easily done by hovering over the Please Select Your Header element and clicking on the Add Header button.
Then, go to the left side of the screen to select the type of header. Having made your selection, you’ll see a menu at the top of the page. Note: This option of adding headers is only available in the Visual Composer Website Builder. WPBakery doesn’t have it.
Step 6: Pair image with text
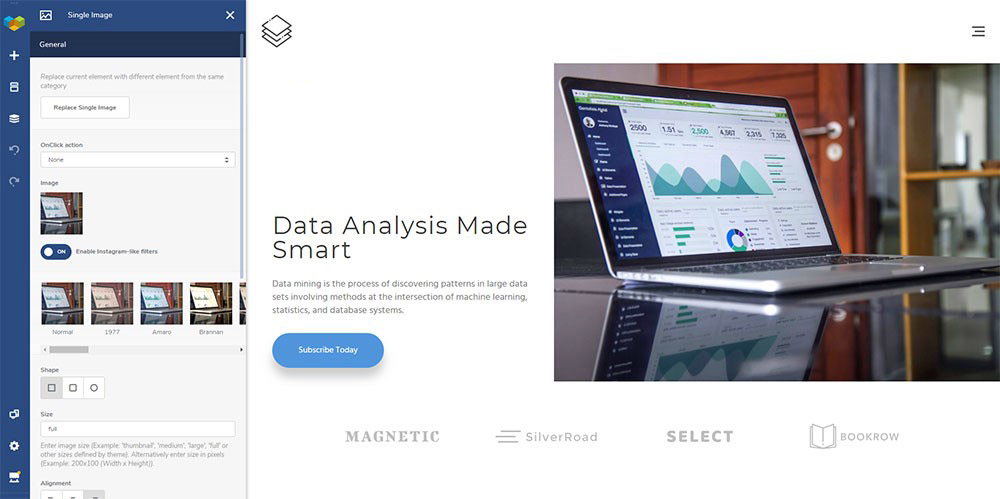
This is the step in which you’ll be customizing the description of the product or service you’ll be presenting on the landing page.
Upload your own image by clicking on the default image and selecting the row to change the background color.
To add your own text, upload it by clicking on the default text. You can then change the color of your text if you wish to do so.
Step 7: Create a group of elements
Typically, you’ll want to place one or two CTA buttons above the fold and just beneath your product’s or service’s description.
You may only want a single “Buy Now” button, or both a “Learn More” and a “Buy Now” button. In the latter case, it’s a good idea to differentiate between the two by color and size.
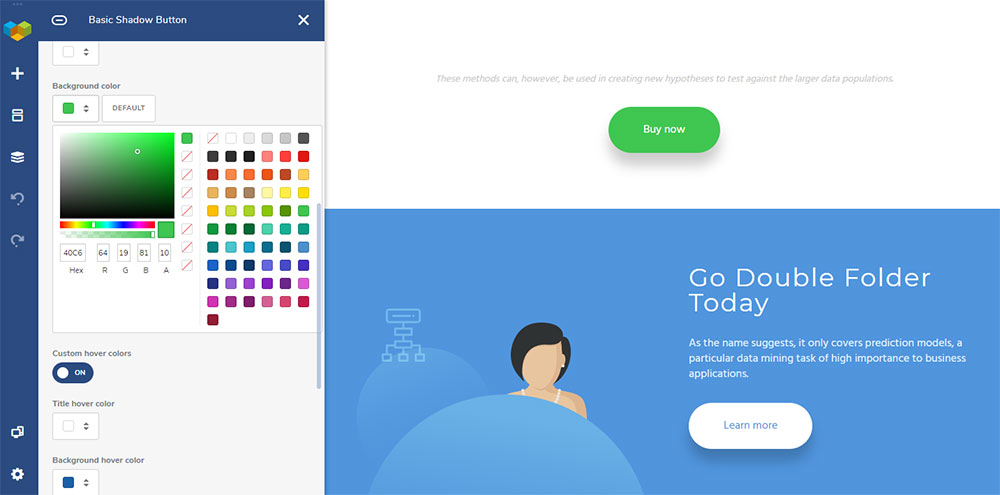
Customizing UI element general parameters or changing individual styling options is never a problem with Visual Composer. It’s simply a matter of clicking on Edit for a particular element or button.
Now it’s time to give your page any extra polishing you feel it deserves by playing around with text size, changing an image, adding a logo, or whatever — and you’re done!
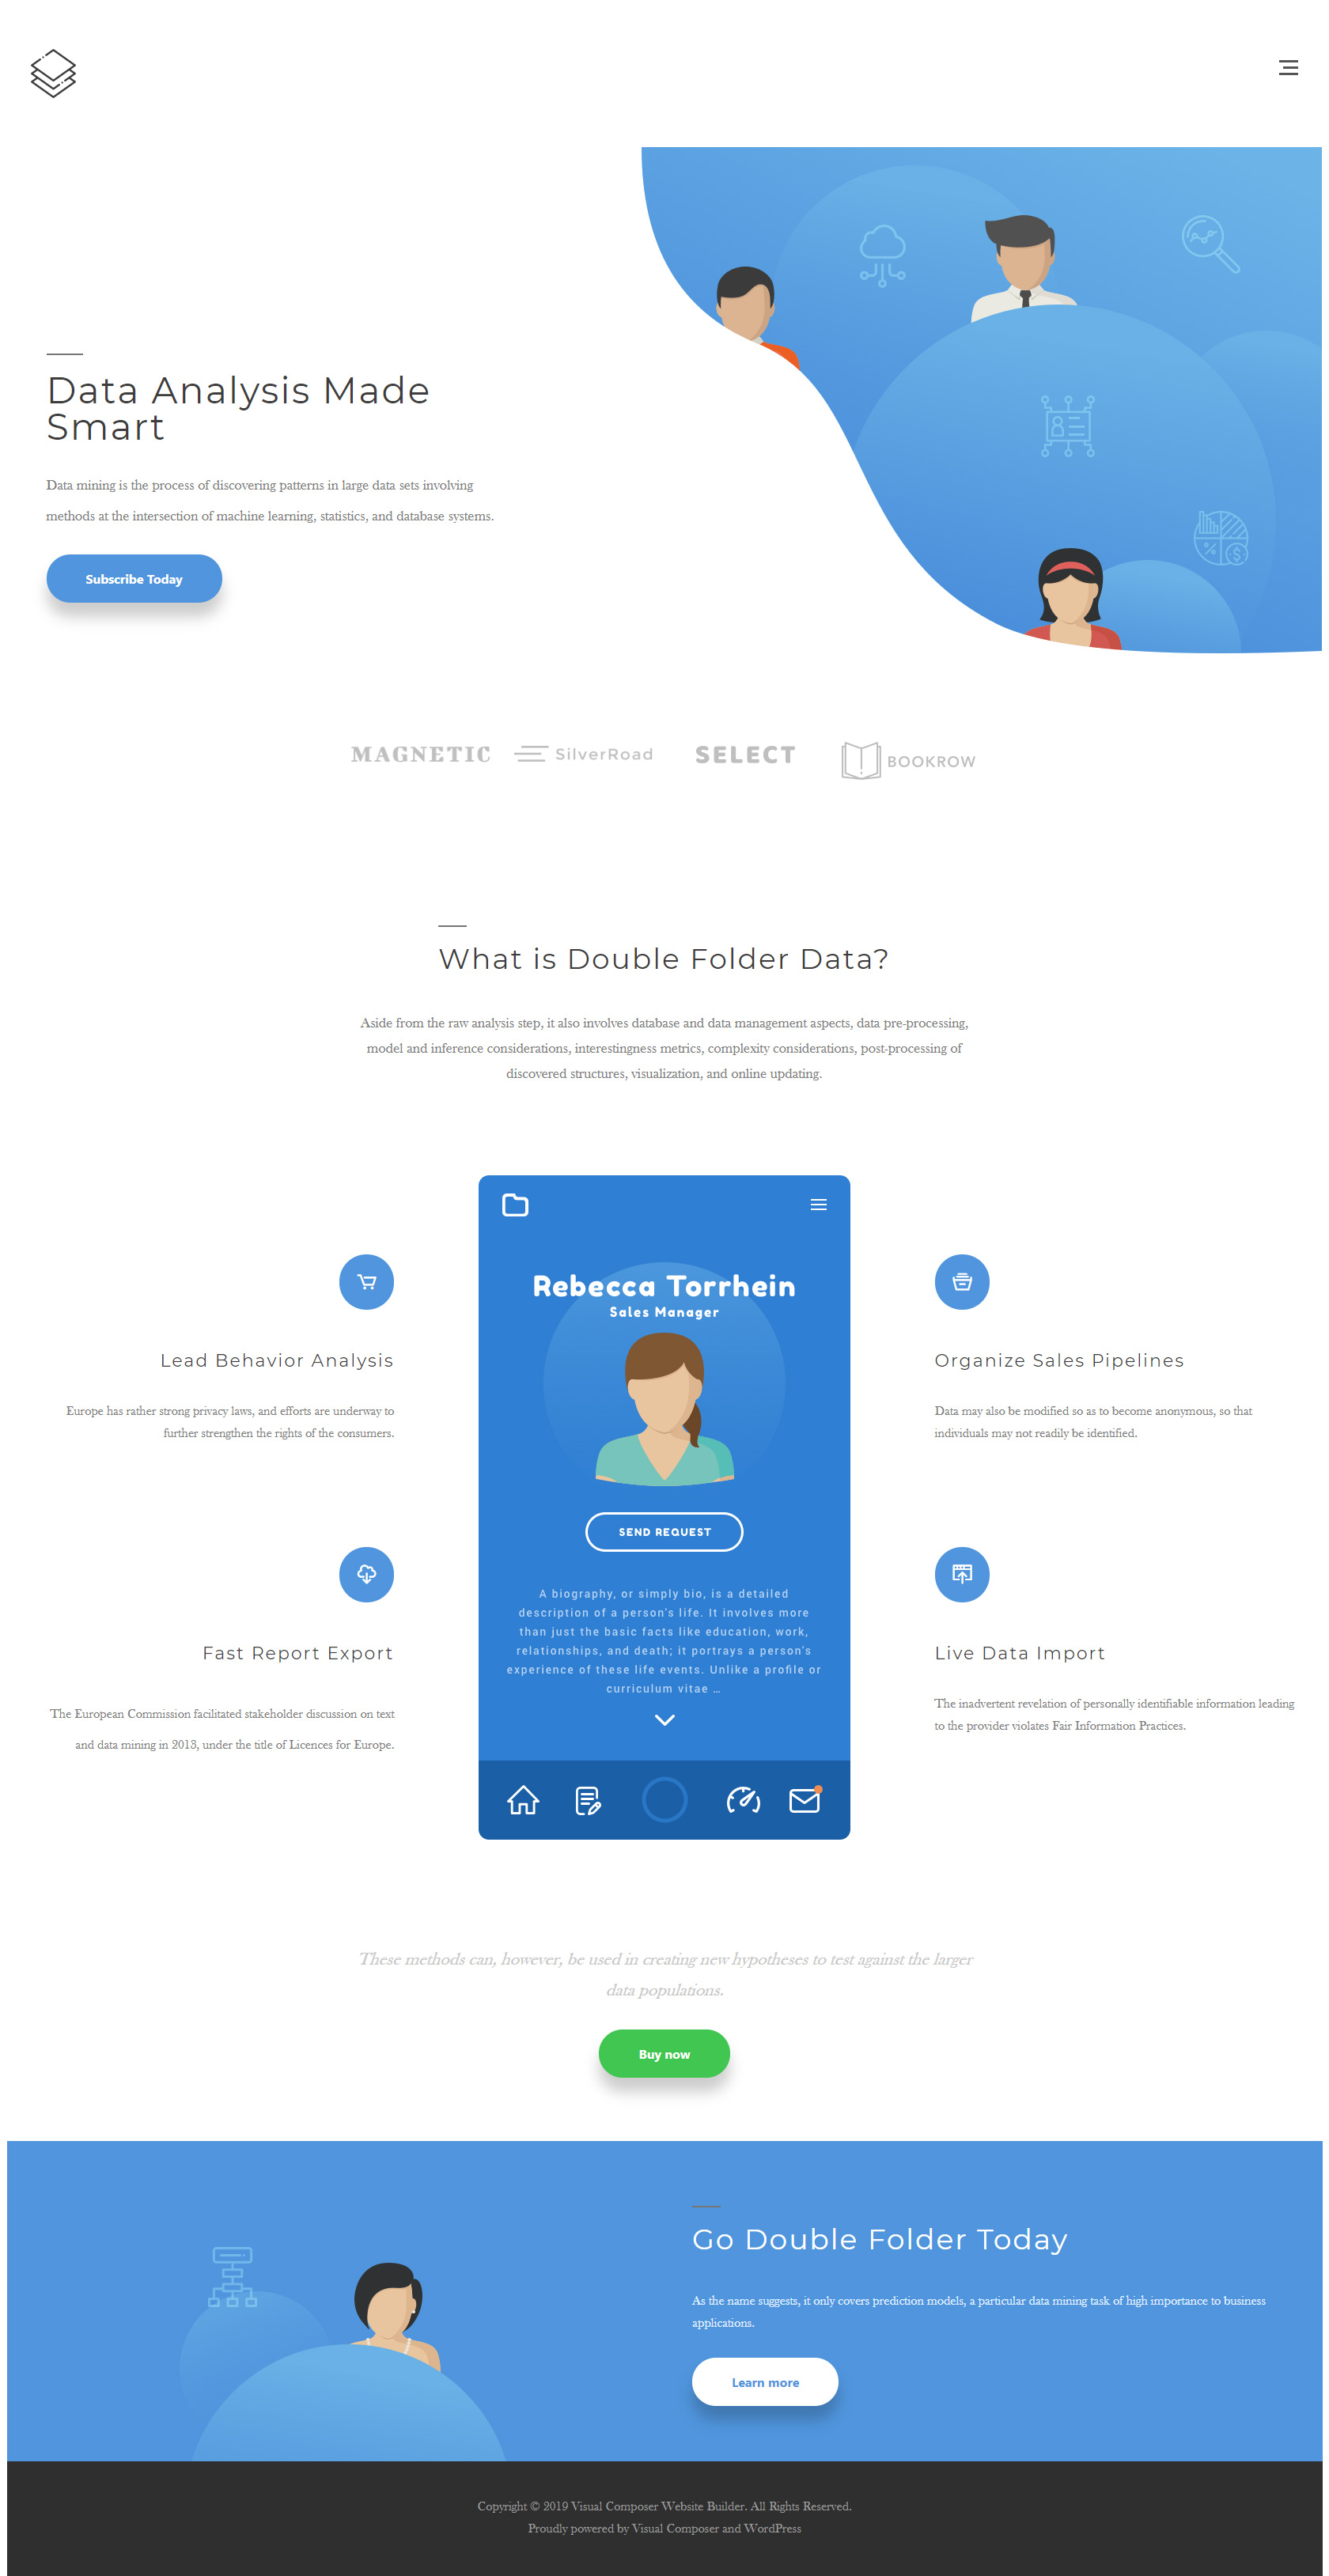
Click here to see a full view version of the landing page
Conclusion
As you’ve no doubt noticed, Visual Composer Website Builder makes it exceptionally easy to build an entire page including headers & footers in WordPress.
Designing an entire website doesn’t require any coding or lots of worry, effort, and perspiration. Even those with limited tech skills can do it, and Visual Composer is a favorite of professional web designers too since it gives them more creative freedom and saves them tons of time.
Ready to have some fun with Visual Composer? Why not give it a try?