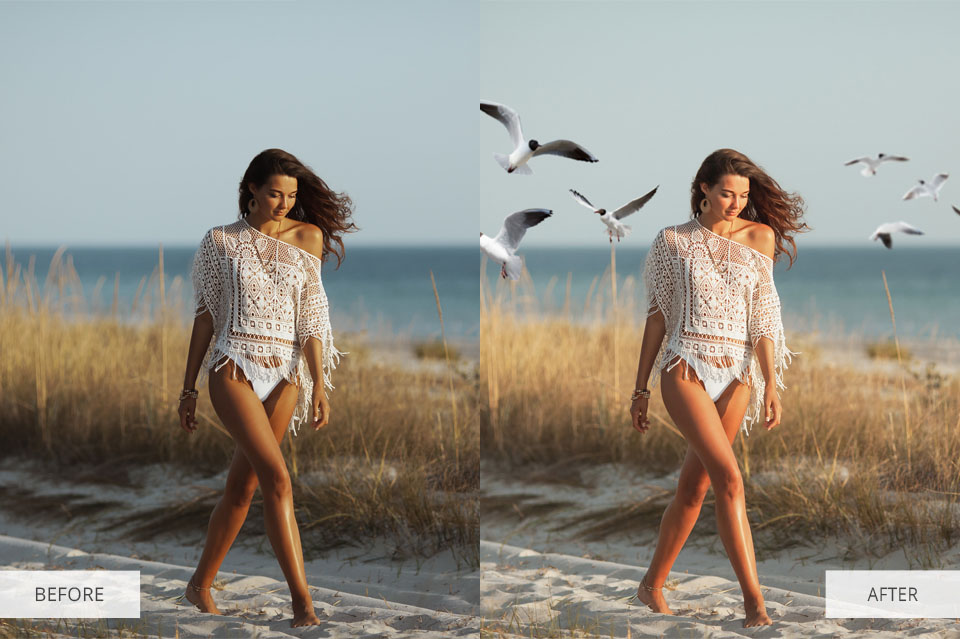
In this guide, you will learn how to overlay an image in Photoshop using the built-in tools and ready-made overlays from professional retouchers.
The first way is to add a ready-made overlay to the image of your choice.
The second way is to combine a pair of images using blend modes and a layer mask. This allows you to indicate precisely what areas of your 2 images you want to be merged. However, this method will take a little more time than working with ready-made overlays.
1. How to Overlay an Image Using Photoshop Plugins
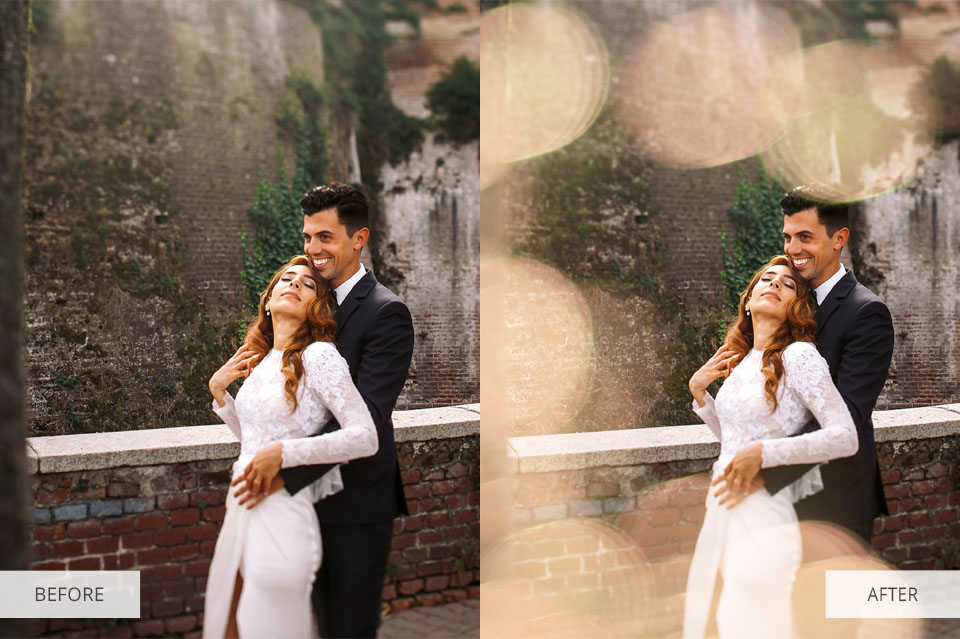
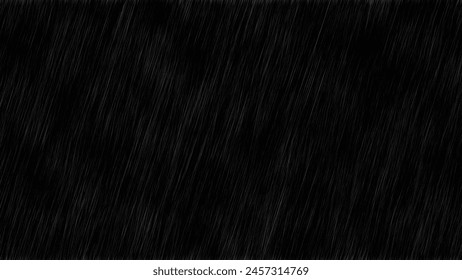
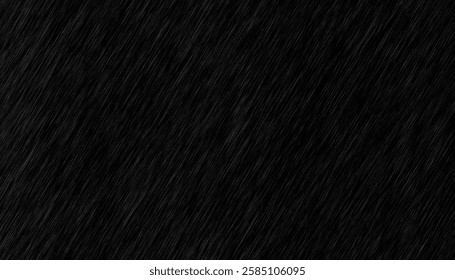
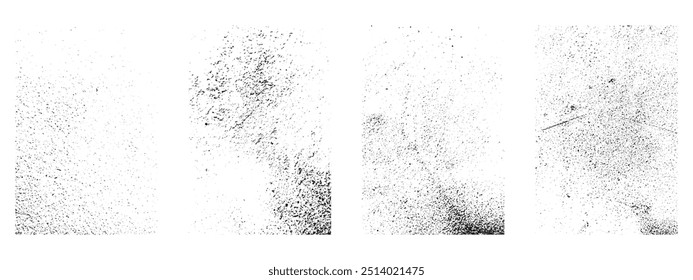
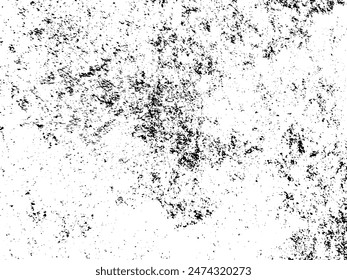
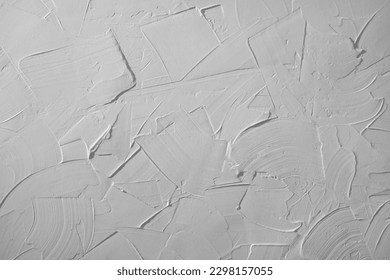
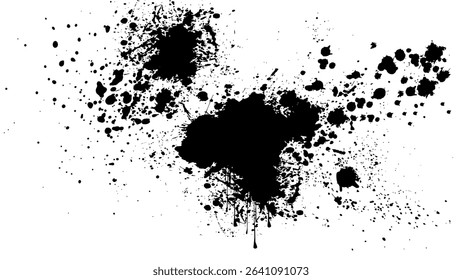
After downloading Adobe Photoshop free you can start editing photos using ready-made overlays. With their help you can quickly edit images, adding bokeh, magic sparkles or a starry sky.
Moreover, this tool is suitable for all types of photographs, from street photography to romantic stories.
The presented free Photoshop overlays are available in JPEG and PNG formats. The first option will require some blending and the second one can simply be added as another layer.
You can use overlay images in Photoshop 4-6 too and they are also suitable for all operating systems. In case you don’t know how to install and use them, you will learn it from the step-by-step instructions below.
Step 1. Download and Save Overlays
Download and save the overlays in any location of your choice. Typically, collections of files are packaged in zip archives. Therefore, your first step would be to unzip the downloaded collection. To do this, left-click on the archive and select the “Extract All” action.
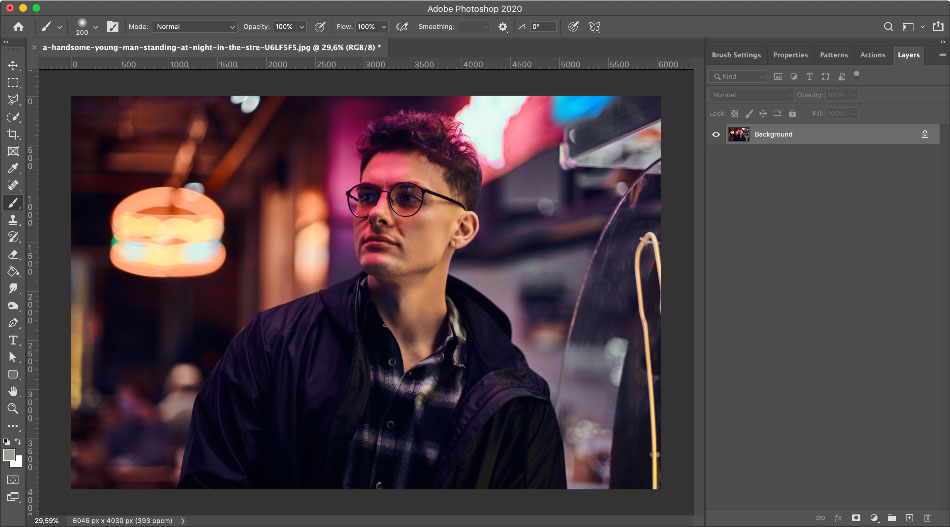
Step 2. Open the Photo
Choose whatever image you want to have enhanced and open it in Photoshop.
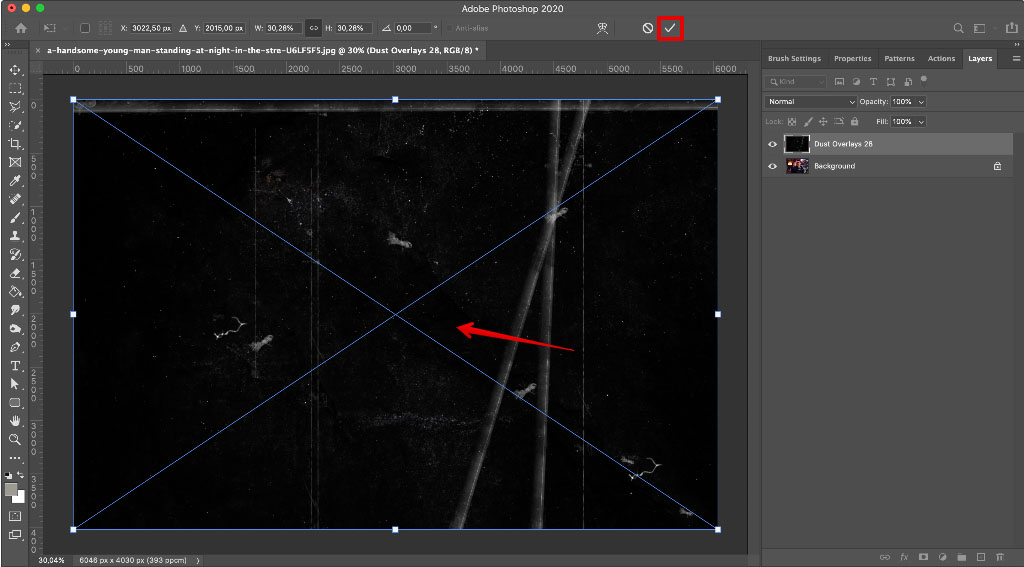
Step 3. Add the Overlay
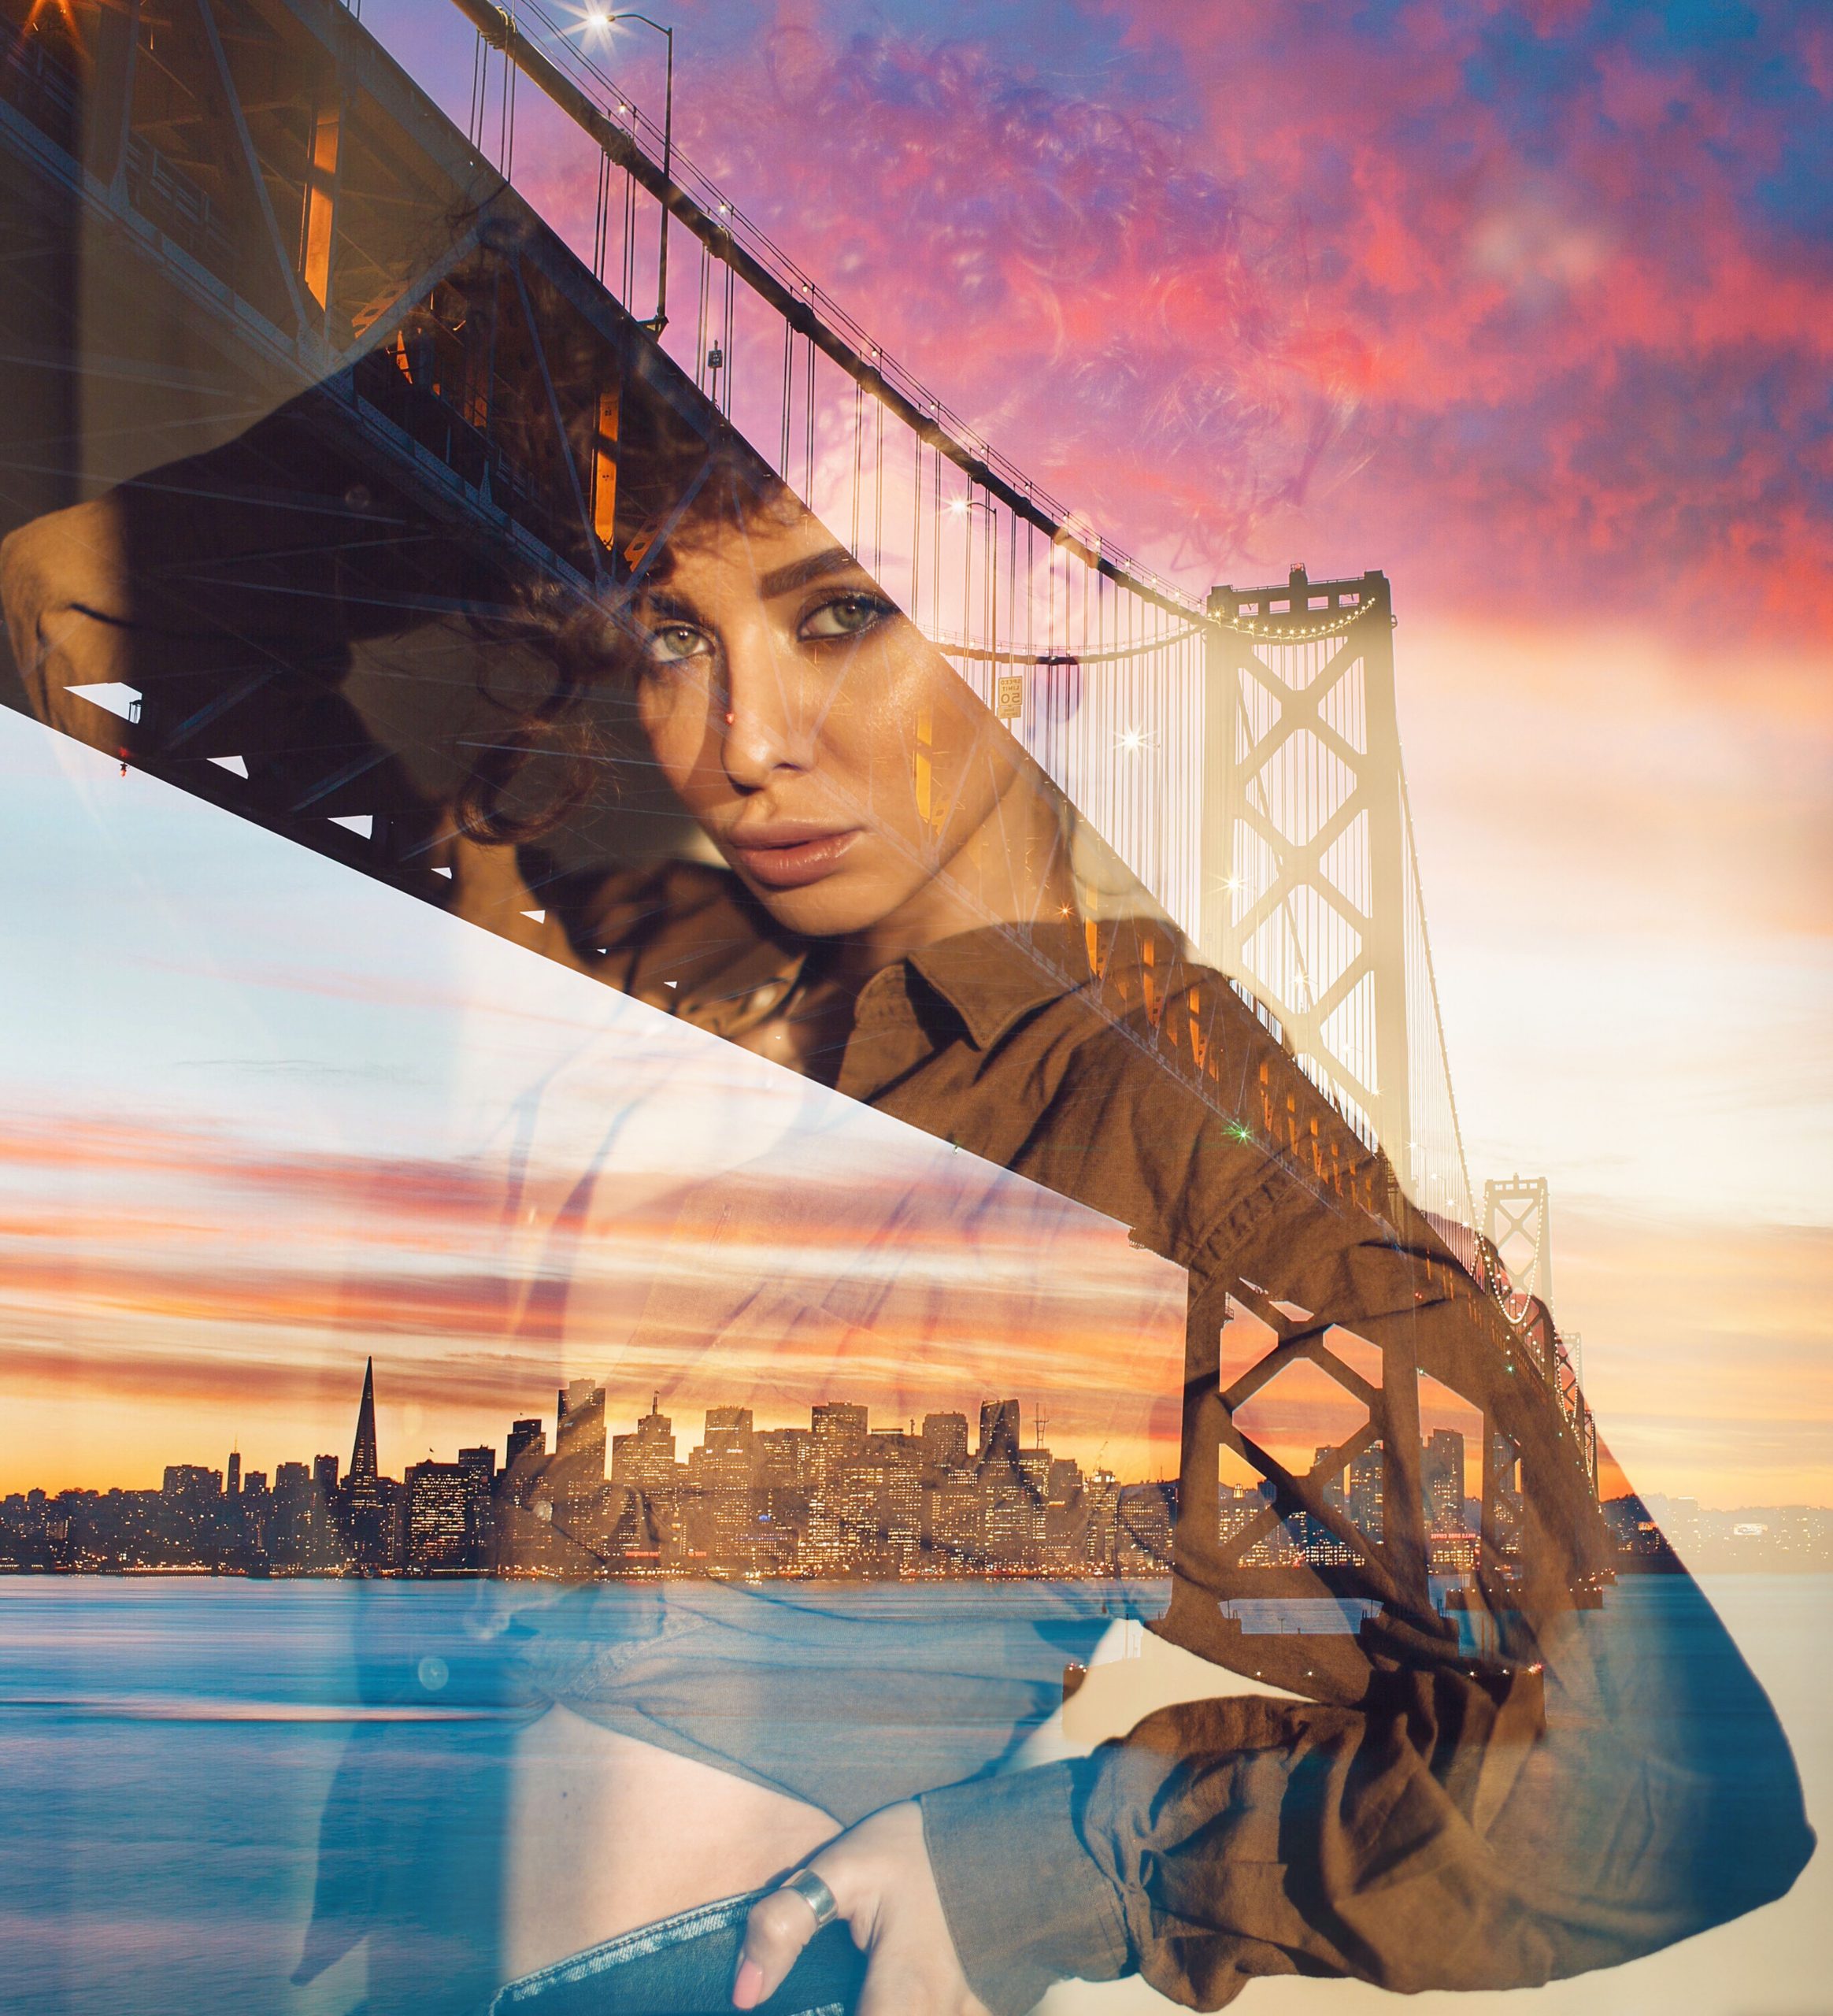
Adding an overlay is easy: drag it from its location folder to the main image. That will create a new layer with your effect. Alternatively, you can use the Place command found in the File menu section. Your overlay will be visible over the primary file.
Resize or position your effect to the best result and press Enter to fix it where you’ve indicated. You can also duplicate the effect to make it more intense.
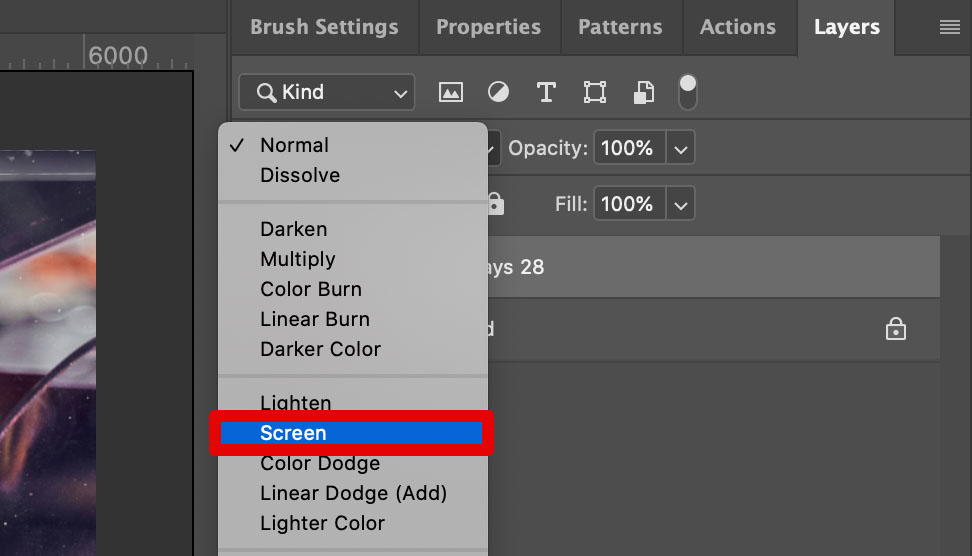
Step 4. Change Blending Mode
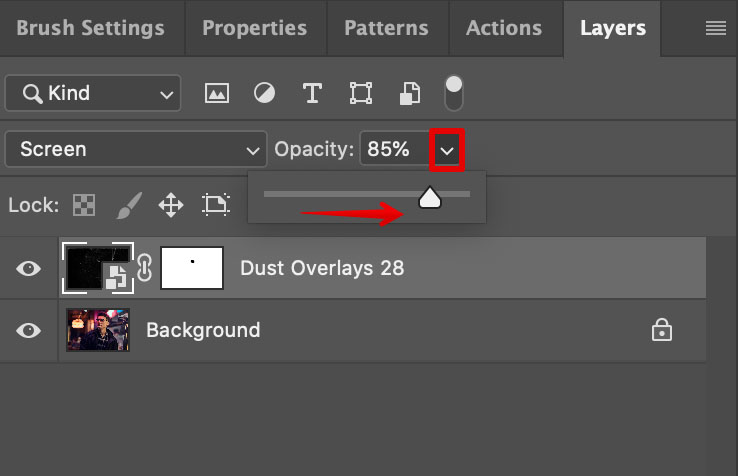
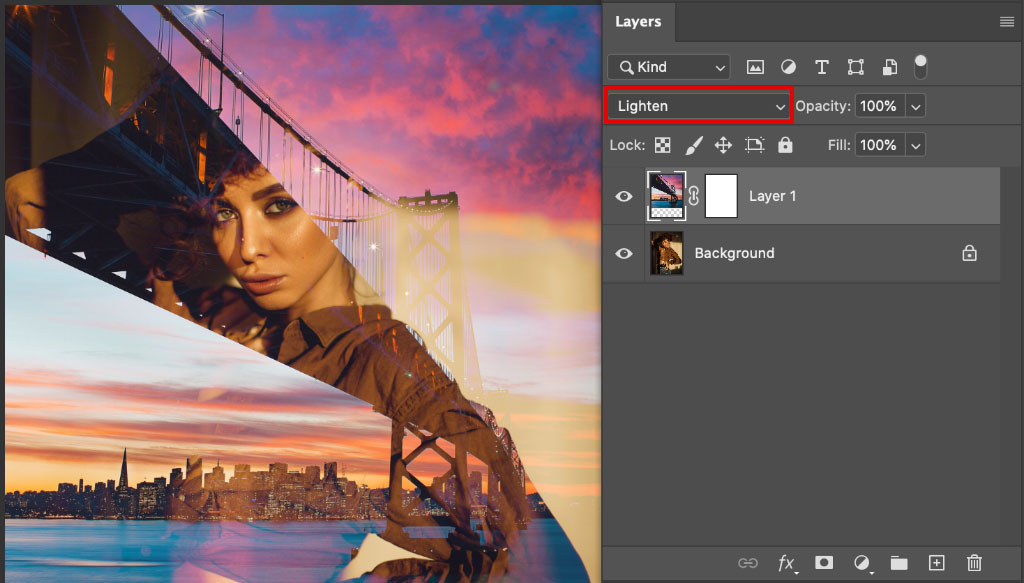
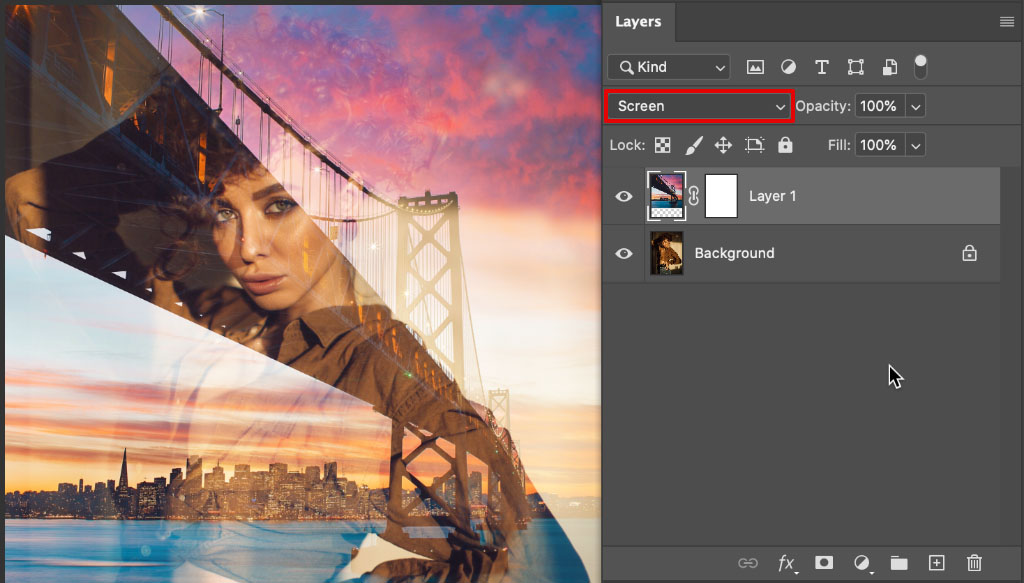
The most important secret of overlaying images in Photoshop successfully is to select the appropriate blend mode. For each fresh layer, “Normal” is the default blending mode, and if you click on it, numerous other options will be listed. Try selecting “Screen” for this time.
Step 5. Change the Color and Opacity
You can further customize the outcome to obtain the most striking result. One option would be to tweak the transparency of the layer. Normally, it would be absolutely opaque, but you can indicate any value in the upper right corner of where your layers are depicted.
Another tool allows you to match the color schemes of both elements. Pick whatever layer you’d prefer to adjust. Go to the Image menu tab and find “Hue/Saturation” among the Adjustments options. Wiggle the slider in the pop-up window until you see things coming together in your project.
How to Overlay Images Using Blend Modes and Layer Mask
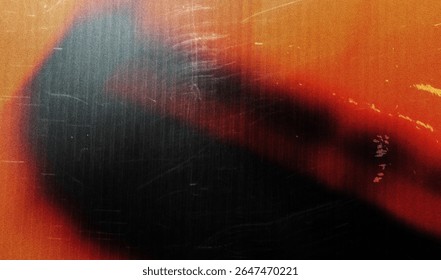
The next method explains how to merge two separate frames with the help of layer blending algorithms. This method works especially well for adding textures to flat backgrounds, etc. And with the addition of a mask, you can only merge certain areas of the images. If this method seems difficult to you, you can always address professional photo manipulation services.
The presented method can even be accelerated. You can switch between blend modes by pressing three keys. Start with the letter V that quickly selects the Move tool. Holding the Shift key, click + or – depending on whether the item you need is below or above the highlighted one.
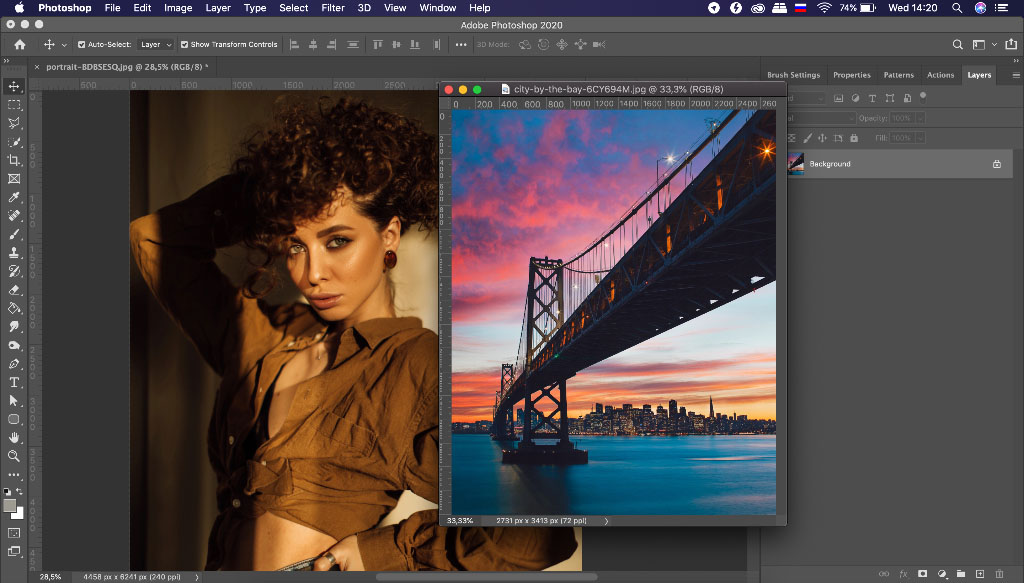
Step 1. Open Images
Start with launching Photoshop to open your main image. Then, add what you’ll be supplementing that one with and resize or position it as necessary.
Step 2. Use Layer Masks
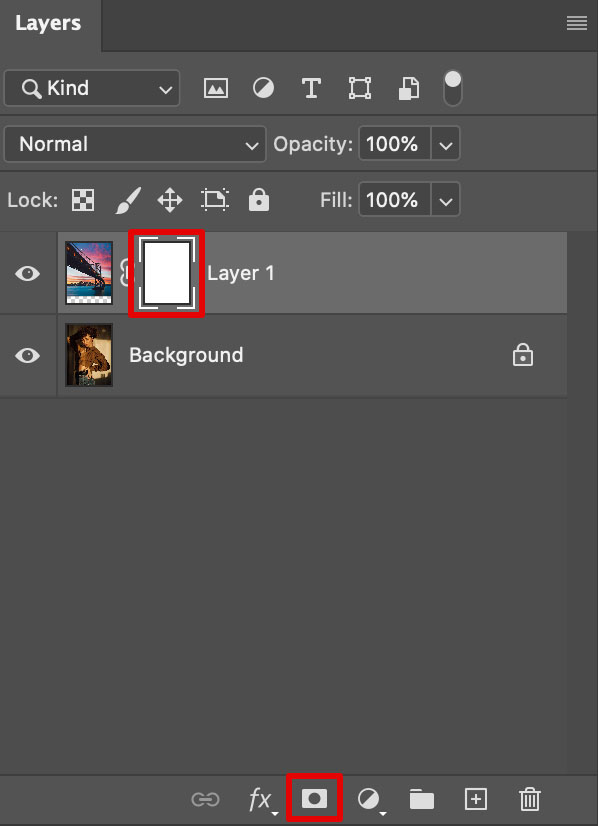
These are irreplaceable when you want only a portion of the image to be affected by the changes. The masks are created out of layers so go to that section and activate the layer you’ll be working on and then Add Layer Mask using the icon underneath.
A new thumbnail will pop up next to the active layer so you should click on that. Use a simple black brush to show the program what areas you don’t want to be visible and switch to white to indicate the opposite.
Step 3. Experiment with Different Blend Modes
Working with the same panel, find the “Normal” Blending Mode on its upper left. This mode does not allow any elements of the bottom images to show through the top one. Additionally, it hides a whole list of other modes underneath.
Let’s investigate the most popular ways of overlaying in Photoshop. The first option is called Multiply and it darkens the photo. The second is Screen which does the opposite. The last alternative, called Overlay, blends the layers obtaining the highest contrast. A variation of that is Soft Light which practically does the same but with a milder outcome meant to look realistic. It’s your main image and the desired effect that would determine what mode to go for.
Step 4. Fine-Tune the Result
Once you’re done with the previous step, subtle changes can still be introduced similar to how I described them in the first method. Reduce the opacity of the layer to make it more intrusive.
Now, all you should do is to save your finished project in PNG, JPG or other formats of your choice.