If you’re a fan of single-lined designs, you’ll almost (got to leave some wiggle room for differing opinions) certainly love wire wall art. Think of the technique as possessing the refreshing simplicity of single line art with a 3D sculptural twist. Have we piqued your curiosity? Okay, now it’s time to earn your attention.
You’ll love this tutorial if you’re a creative (pro or hobbyist) type looking for a different, underutilized aesthetic to add to your digital design arsenal. What will you gain from this article? Expect to find some inspiration to wet your design whistle, some introductory context about the tutorial, and finally, a detailed guide on how to create wire wall art using Photoshop.
Stay tuned so you can say, ‘Like, I knew about wire wall art before it was cool.’
Consider Digital Mock-ups
After you have finished your wire wall art, consider using an art gallery mock-up or poster template from the Design Bundles to present it to the world. Why? Using digital mock-ups like this, you can produce professional product photos for your online shop or advertise products via social media.
Another bonus is that you can preview how your work will look when printed and displayed. Meaning you can identify any amendments necessary before paying out for hefty professional printing only to be disappointed.
You can also use digital templates to conduct market research to determine if the demand for a specific print is there or even drum up pre-release sales. In this way, you will avoid spending money on 50 art prints that might not sell or make sales in advance.
Before We Begin
Software-wise, we used Adobe Photoshop CC (2017) to produce this tutorial; luckily, Photoshop versions rarely differ much in terms of layout. Also, we used a Mac; however, we’ve included shortcuts for both Windows and Mac throughout.
Here’s What You Will Need
For this tutorial, you will need some outlined vectors or png files of a subject you want to use as ‘Wall Art’ (for context, we used an item from this zodiac signs bundle) and a ‘Background’ image.
Photoshop
Something to run Photoshop on
A ‘Background’ image
An image to use as ‘Wall Art’ — either find a license-free one or draft one up yourself
Without further ado, let’s discover how to create eye-catching wire wall art.
How To Create Eye-Catching Wire Wall Art
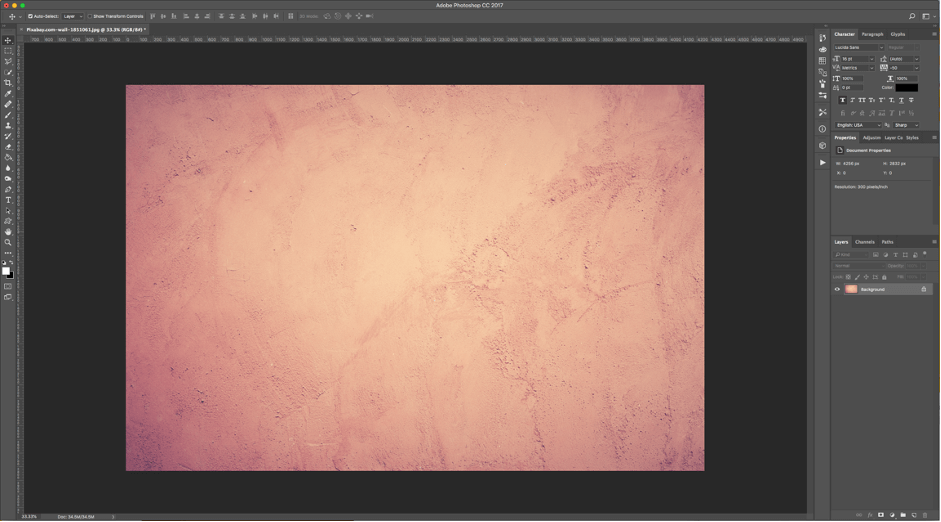
Step 1 – In Photoshop, open the image you chose as ‘Background.’
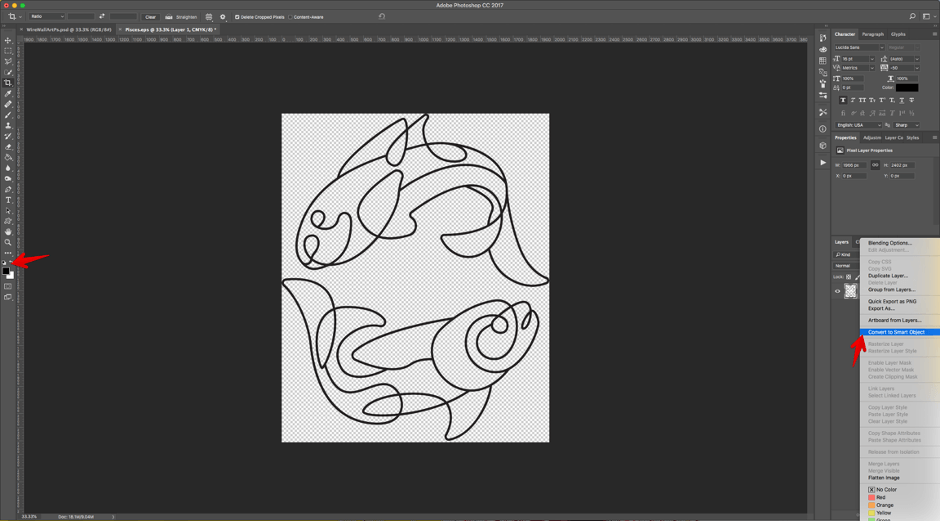
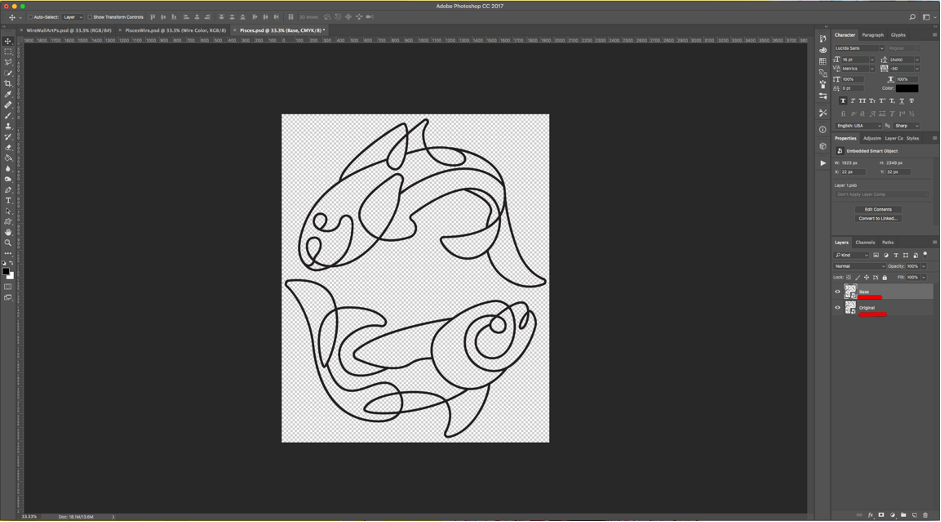
Step 2 – Open the image you want to use as ‘Wall Art,’ making sure it has a ‘Transparent’ Background.
Step 3 – Right-click on top of its Thumbnail and choose ‘Convert to Smart Object.’
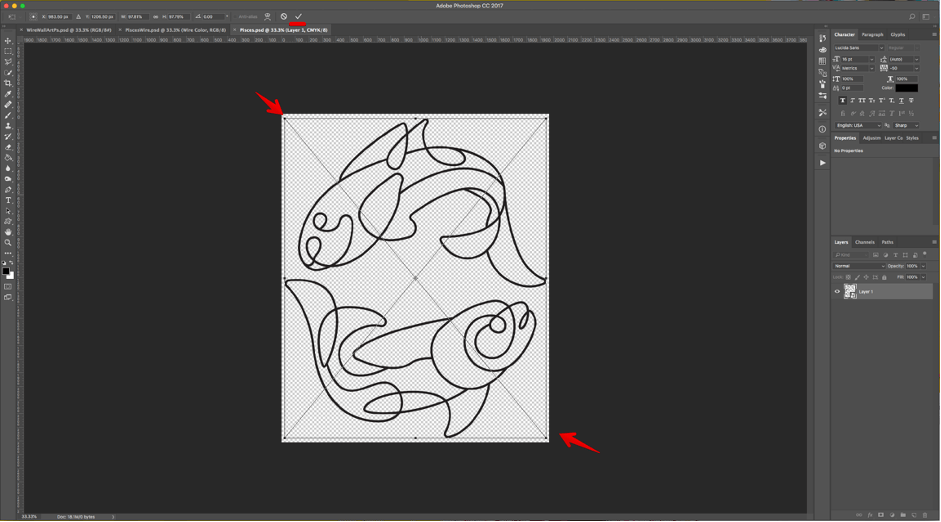
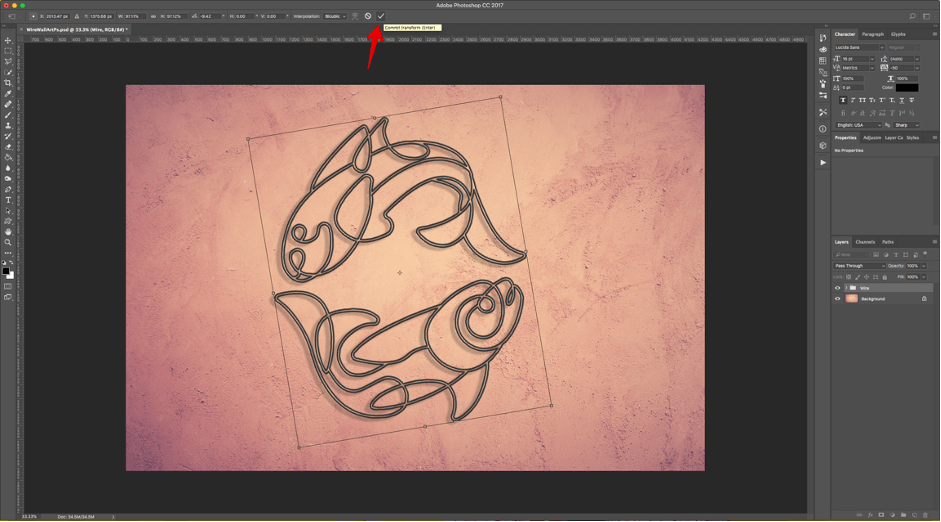
Step 4 – Use ‘Free Transform’ (Command/Control + T) to resize the image if needed. Click on the small Check Mark on the Top Menu or hit ‘Enter’ to ‘Commit’ the changes.
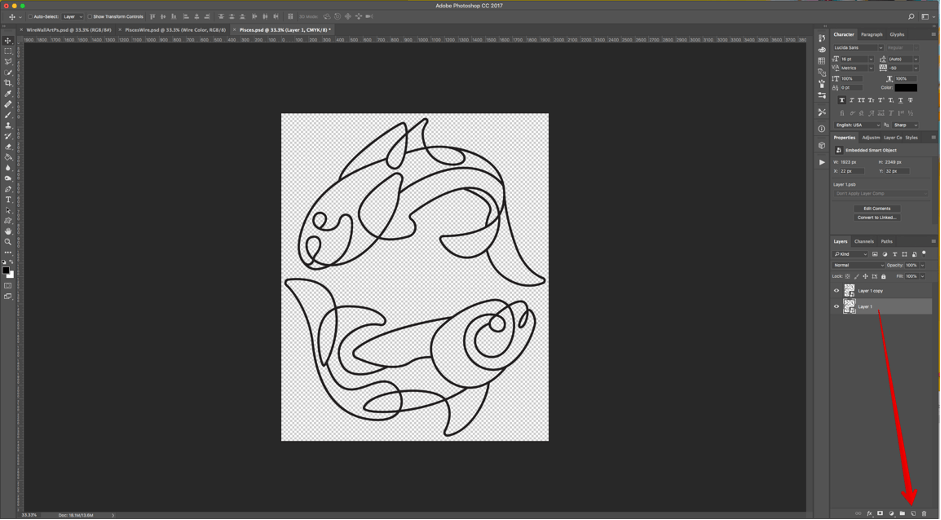
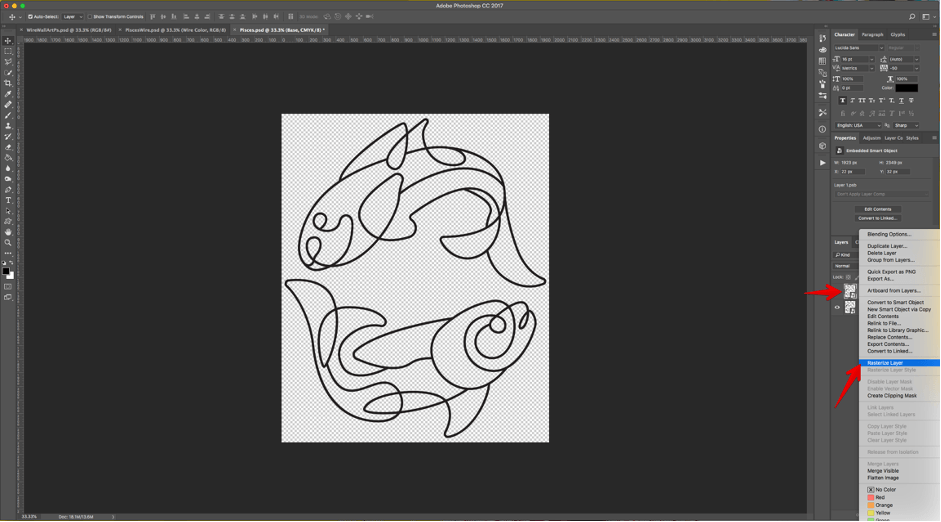
Step 5 – ‘Duplicate’ the layer by dragging its Thumbnail to the ‘Create New Layer’ button at the bottom of the ‘Layers Panel’ and name it ‘Base.’
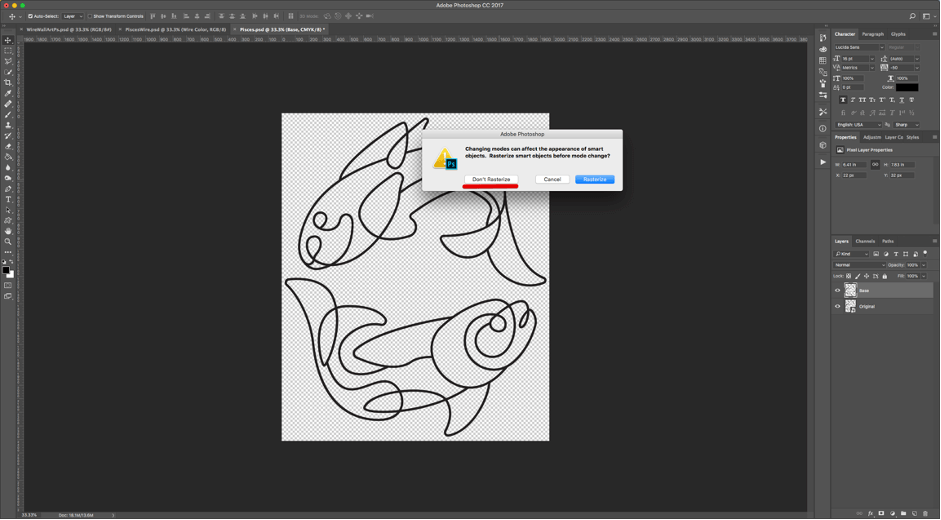
Step 6 – Select the duplicate, right-click on top of its Thumbnail and choose ‘Rasterize Layer.’
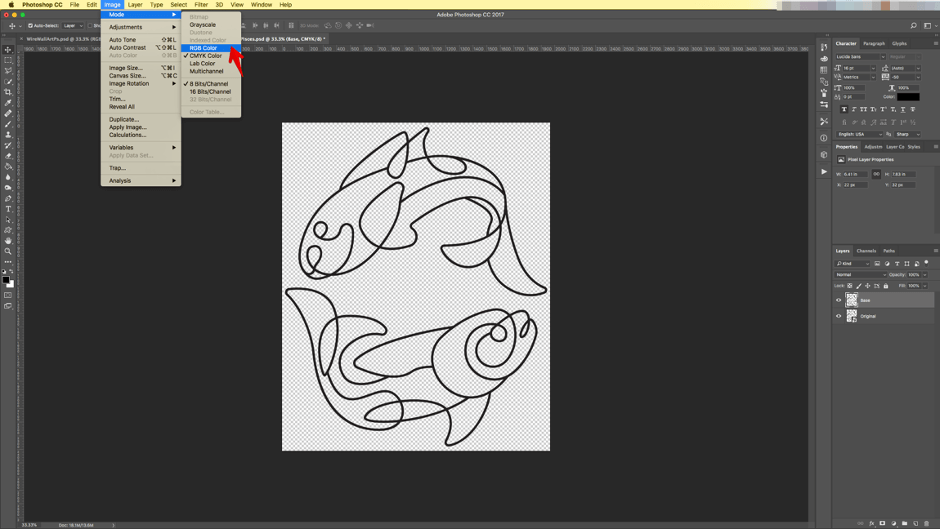
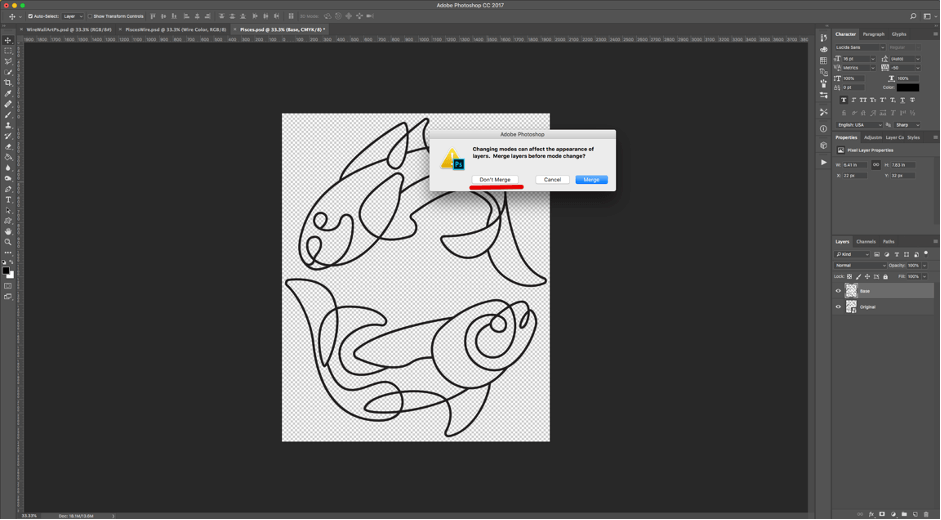
Step 7 – Go to Image > Mode > RGB Color, choose ‘Don’t Merge’ and ‘Don’t Rasterize’ when prompted.
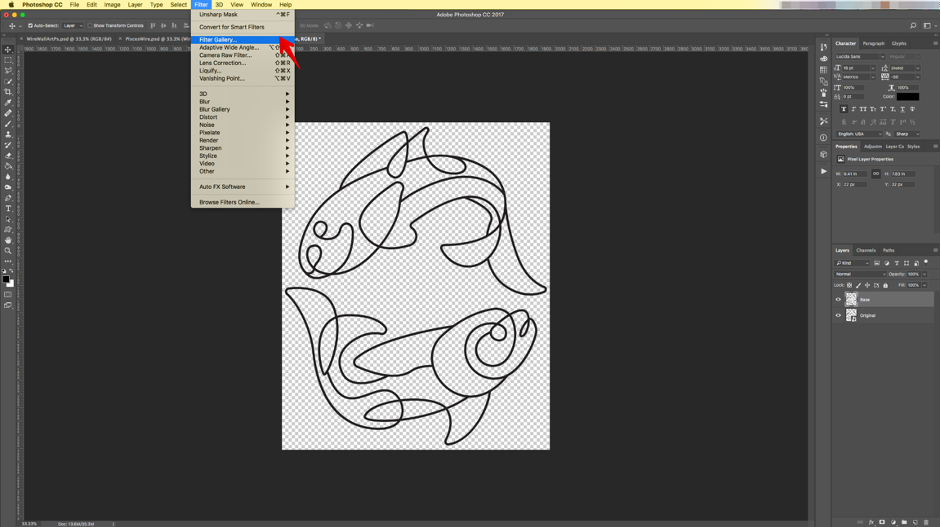
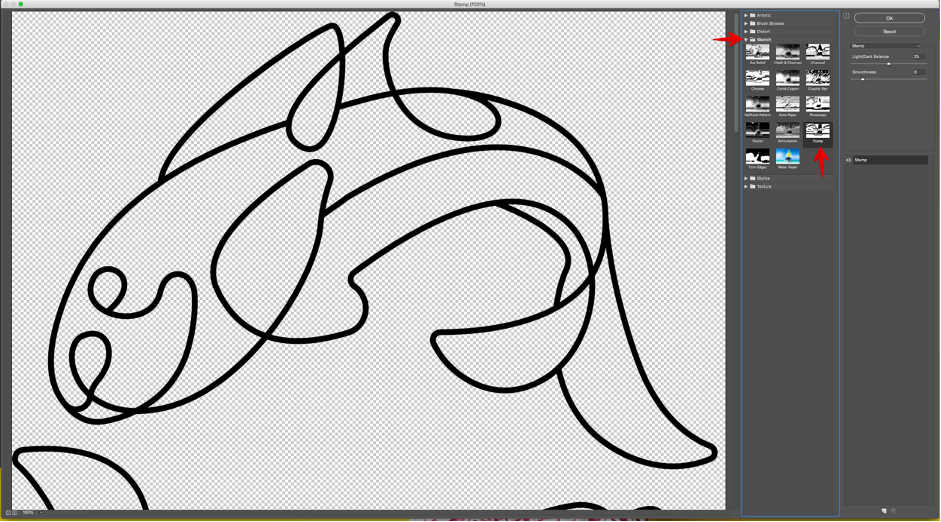
Step 8 – Go to Filter > Filter Gallery > Sketch > Torn Edges and use the following values (22, 15 1). Then, go to Filter > Filter Gallery > Sketch > Stamp and use the following values (25, 8).
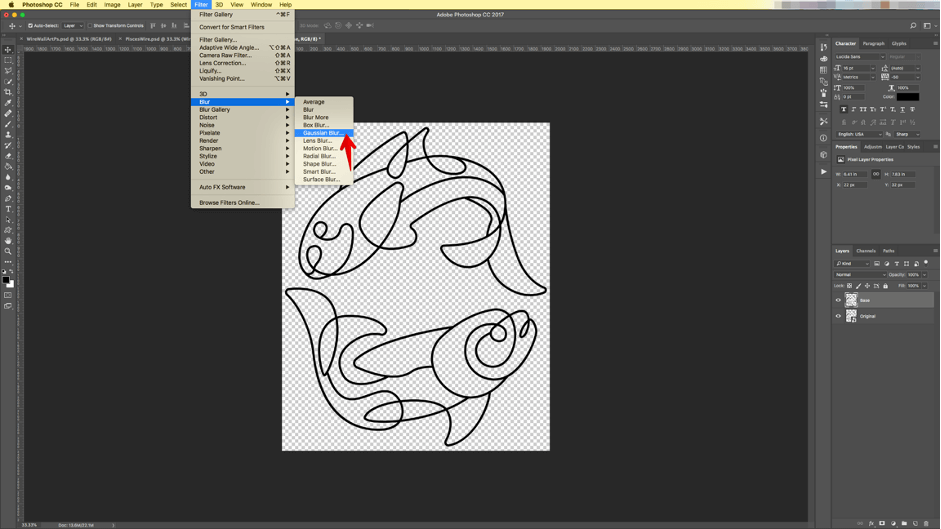
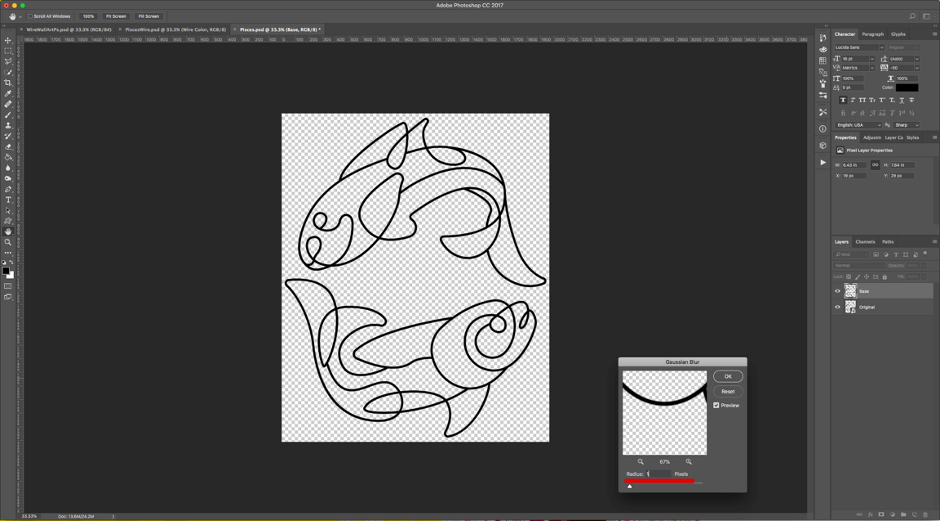
Step 9 – Go to Filter > Blur > Gaussian Blur and use a ‘Radius’ of 1 Pixel.
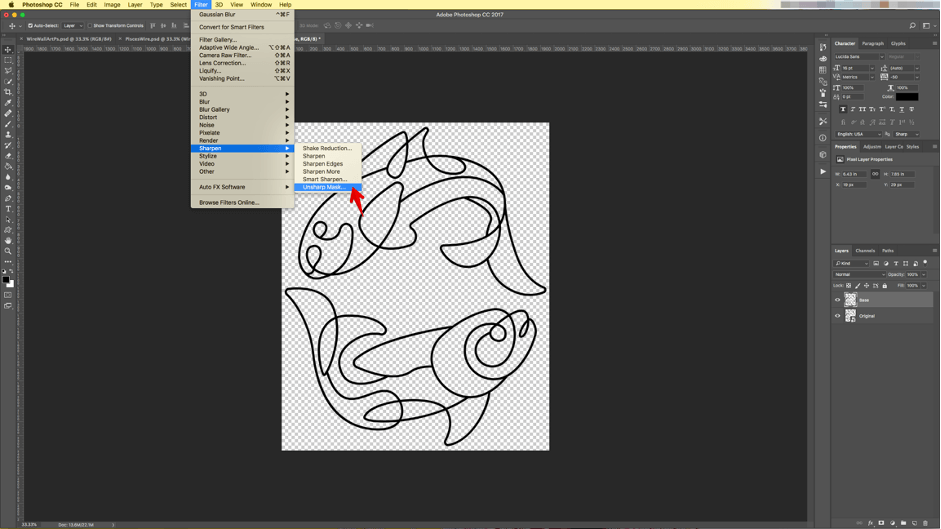
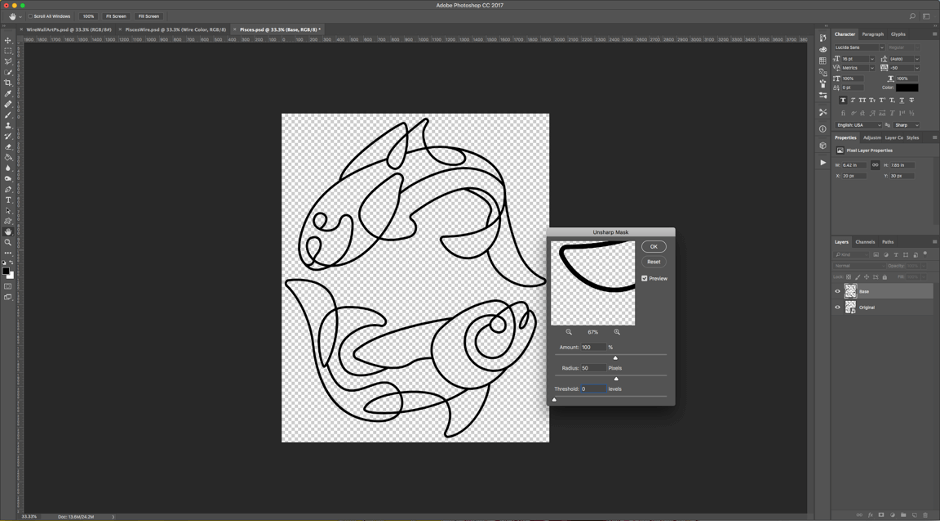
Step 10 – Go to Filter > Sharpen > Unsharp Mask and use the following values (100, 50, 0).
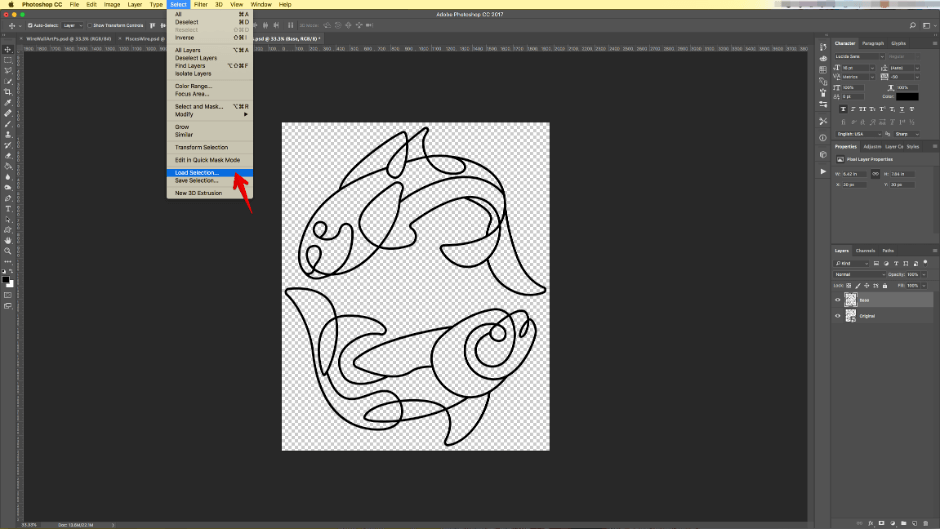
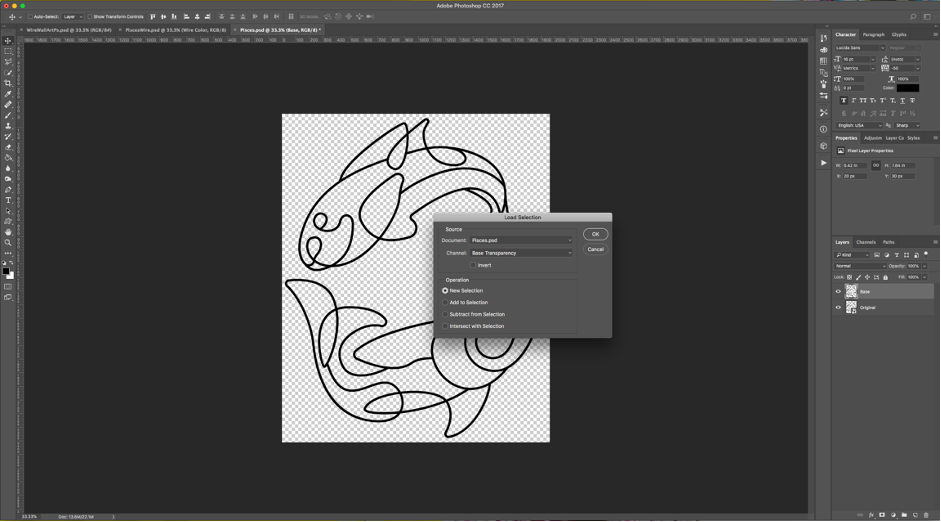
Step 11 – Go to Select > Load Selection. Use the default settings.
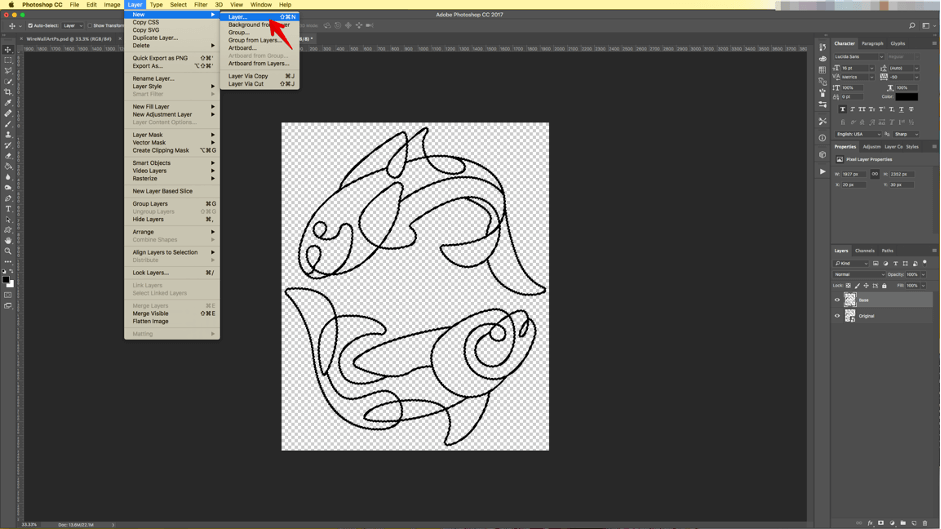
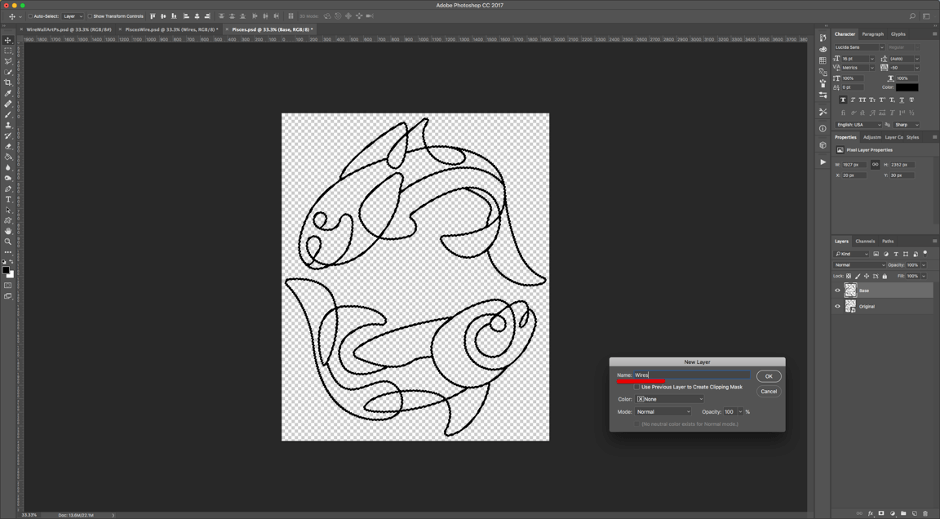
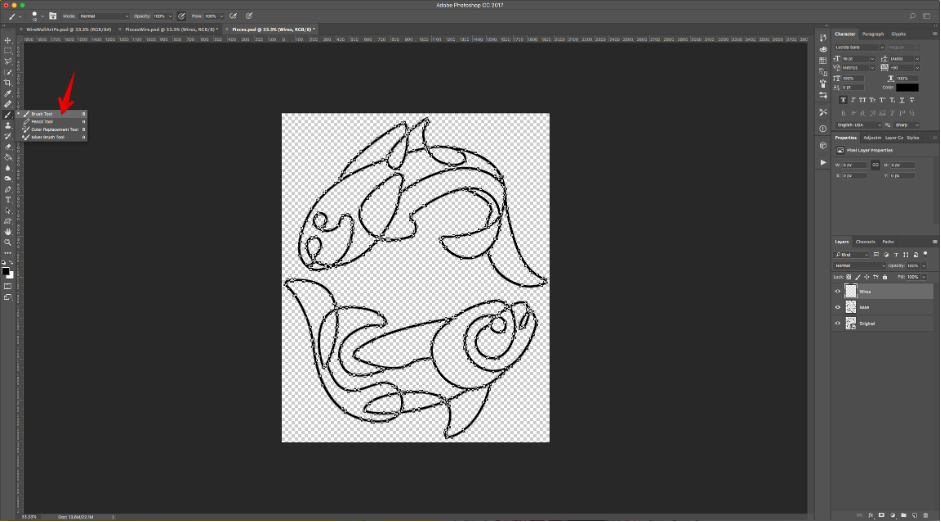
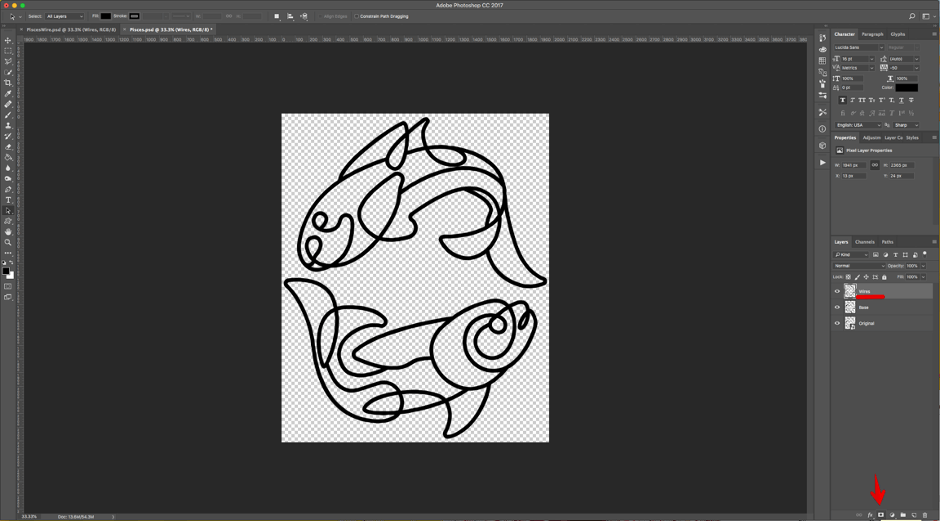
Step 12 – Create a ‘New Layer’ (Shift + Command/Control + N), name it ‘Wires,’ and make sure it is on top of everything.
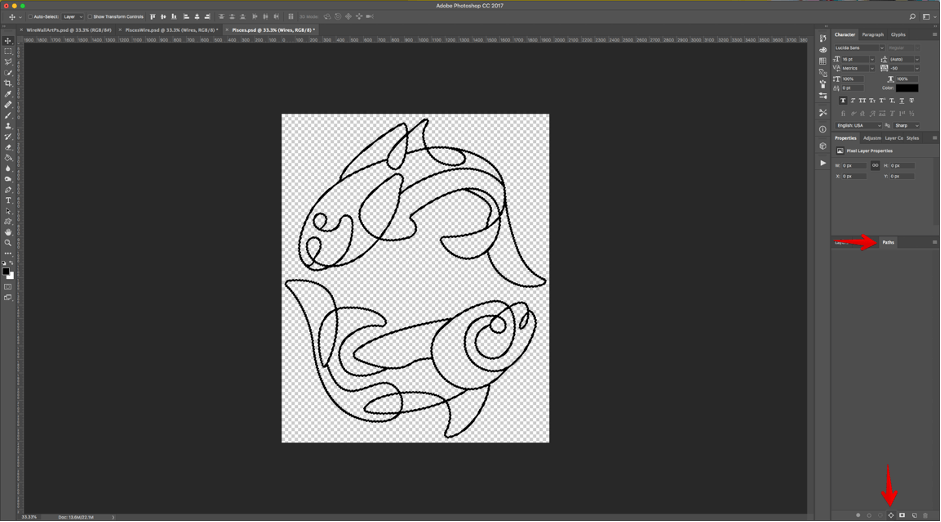
Step 13 – With your selection still active and the ‘Wires’ Layer selected, head to the ‘Paths’ Panel and click the ‘Create Path’ button at the bottom of the Panel. Double-click on the ‘Work Path’ Thumbnail and name it ‘Wires.’
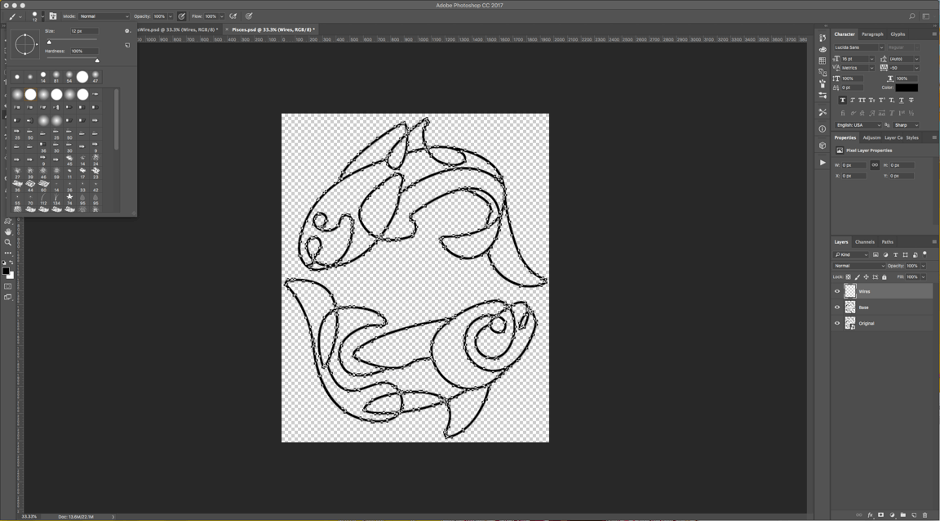
Step 14 – Select the ‘Brush Tool’ (B) and use a 12 px 100 % ‘Hardness’ brush.
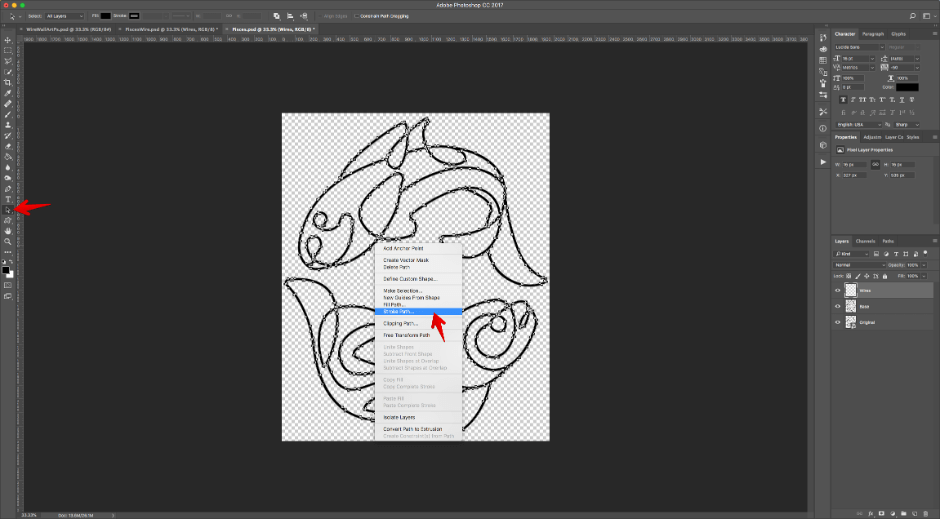
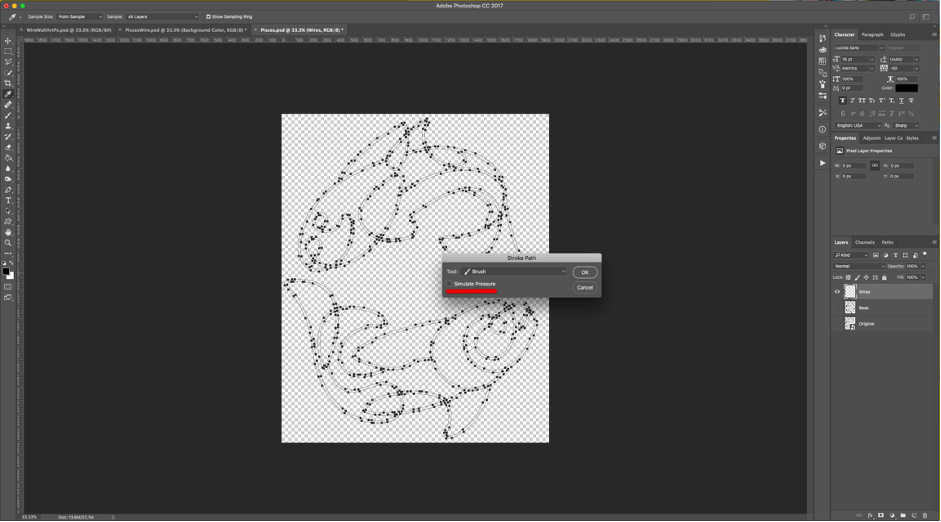
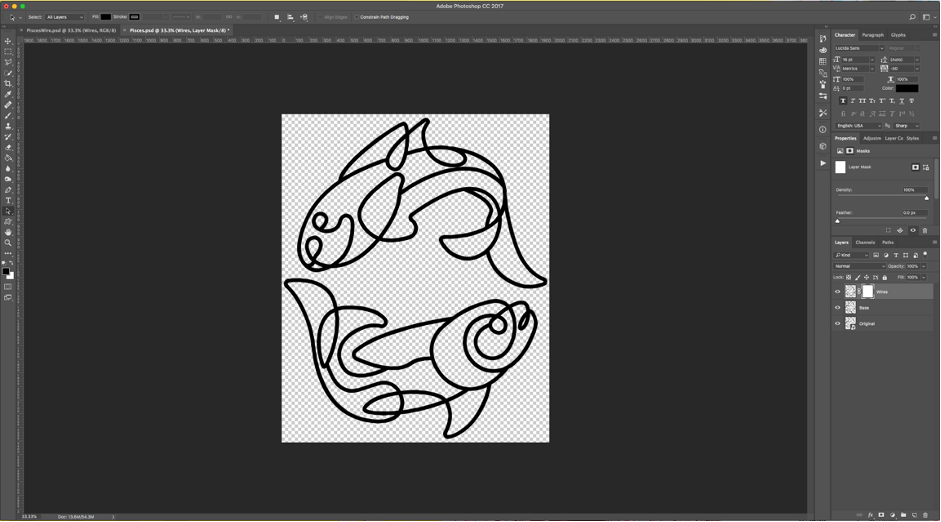
Step 15 – With the ‘Selection Tool’ right-click on top of the ‘Path’ and choose ‘Stroke Path’ use ‘Brush’ as ‘Tool’ and click ‘OK.’ Don’t forget to ‘Deselect’ the Path.
Step 16 – Select the ‘Wires’ Layer and create ‘Layer Mask’ by clicking on the small button at the bottom of the ‘Layers Panel.’
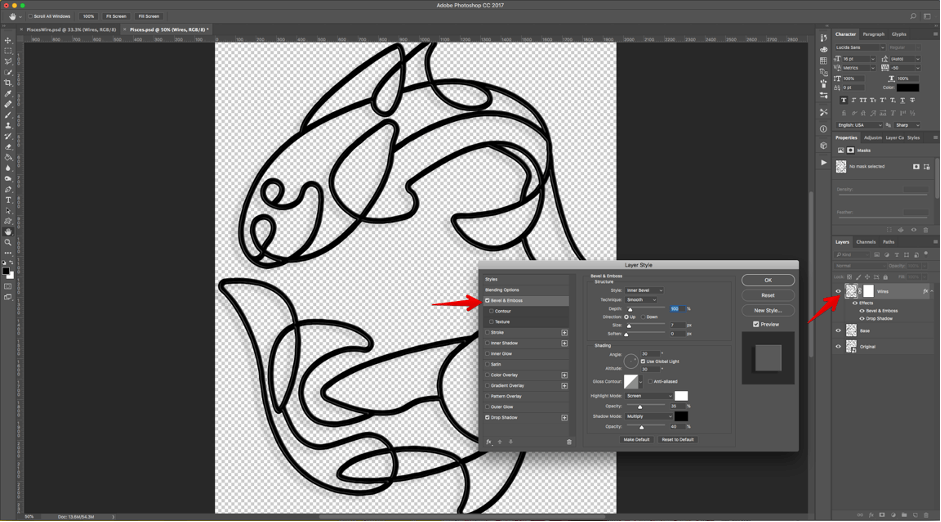
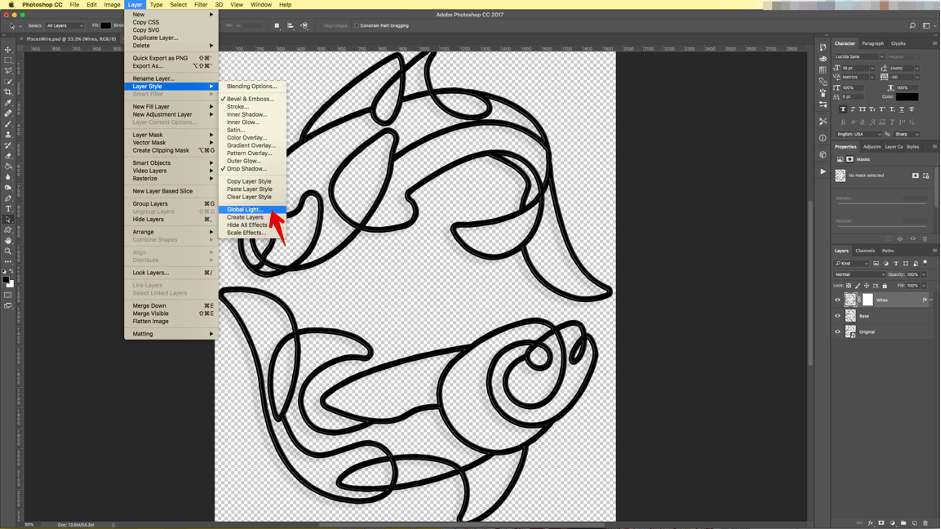
Applying Layer Styles
Step 17 – Double-click on top of its Thumbnail and apply the following ‘Layer Styles’:
Bevel & Emboss:
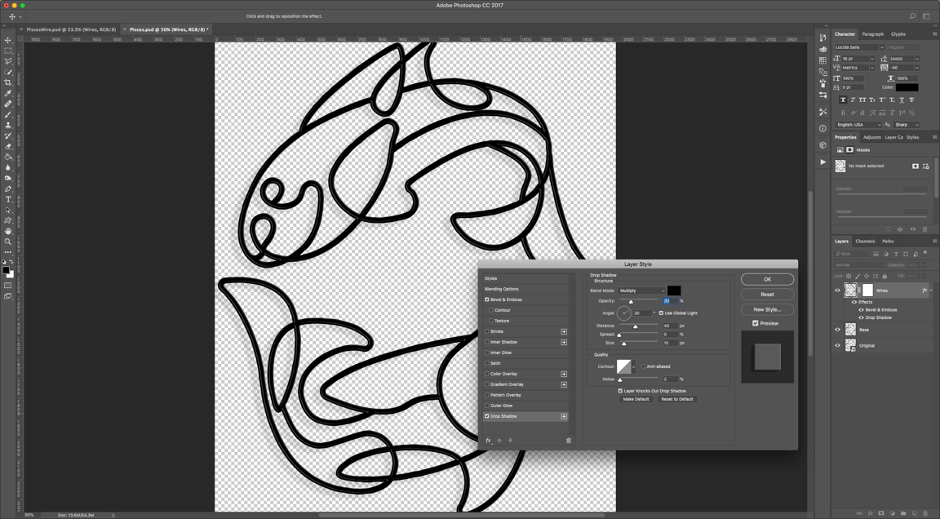
Drop Shadow:
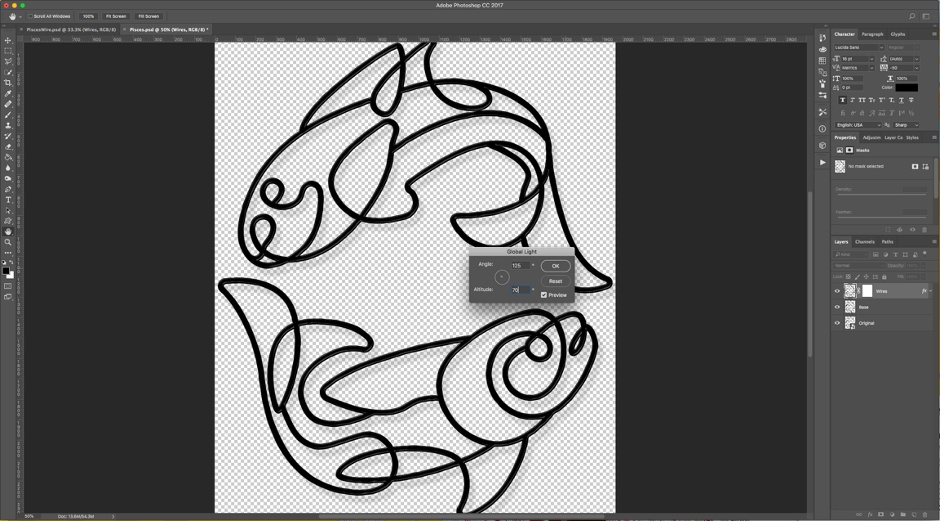
Step 18 – Go to Layer > Layer Style > Global Light and use a 125° ‘Angle’ and a 70° ‘Altitude.’
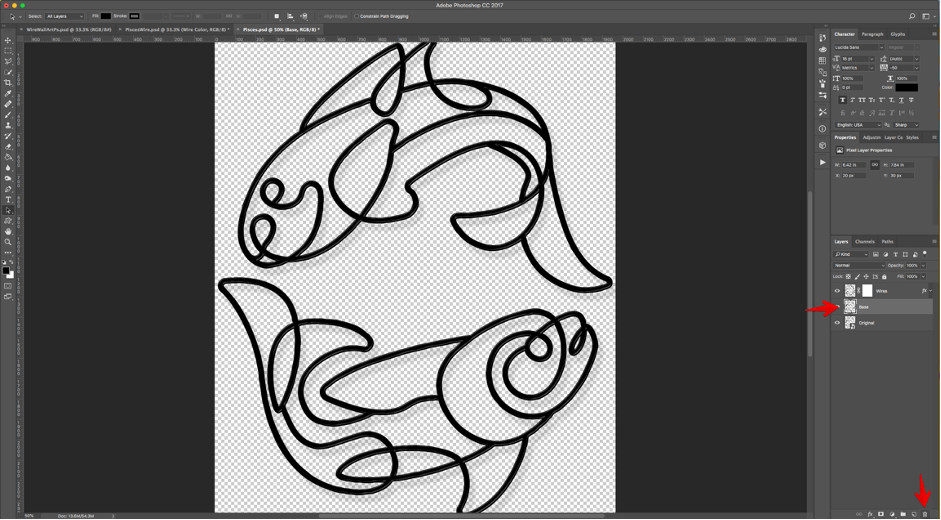
Step 19 – You can ‘Delete’ the ‘Base’ Layer if you want.
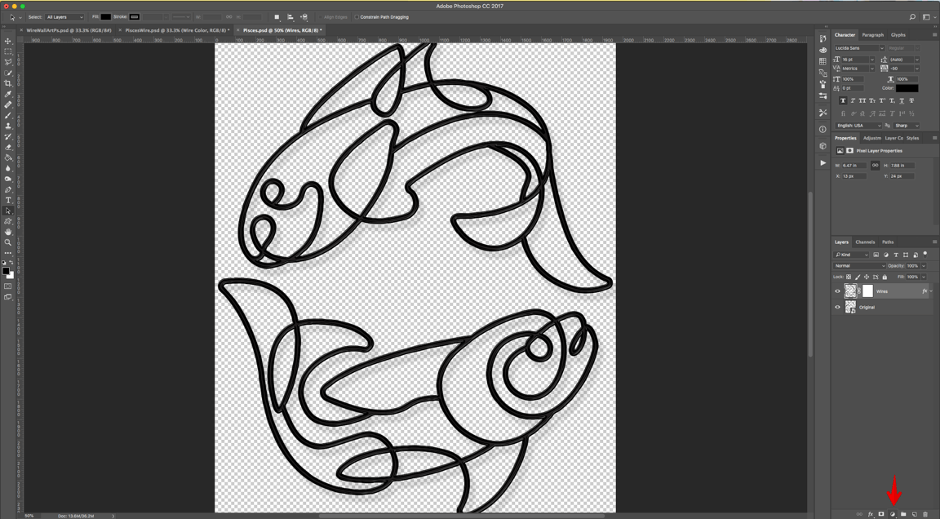
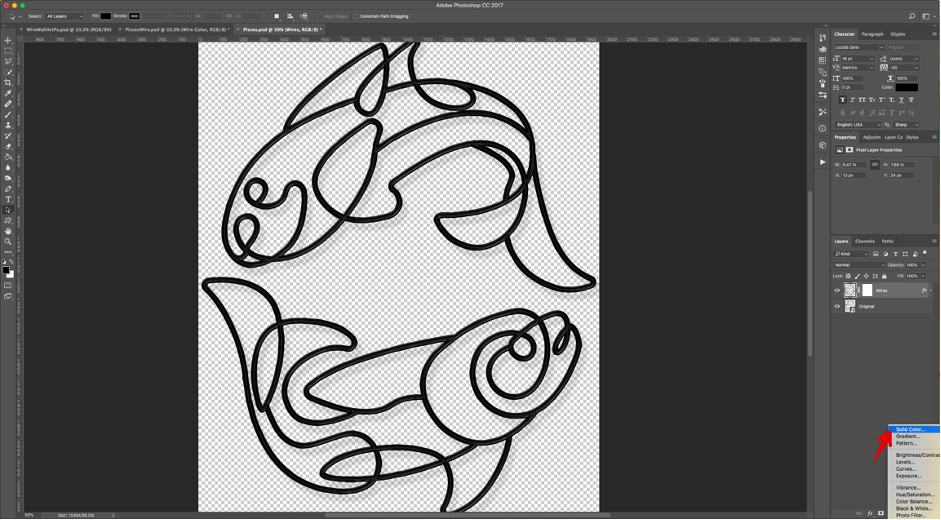
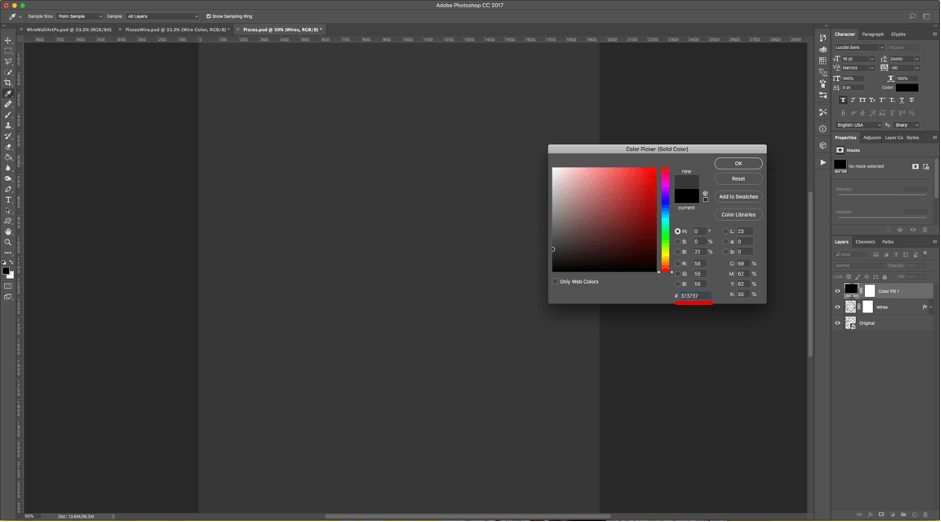
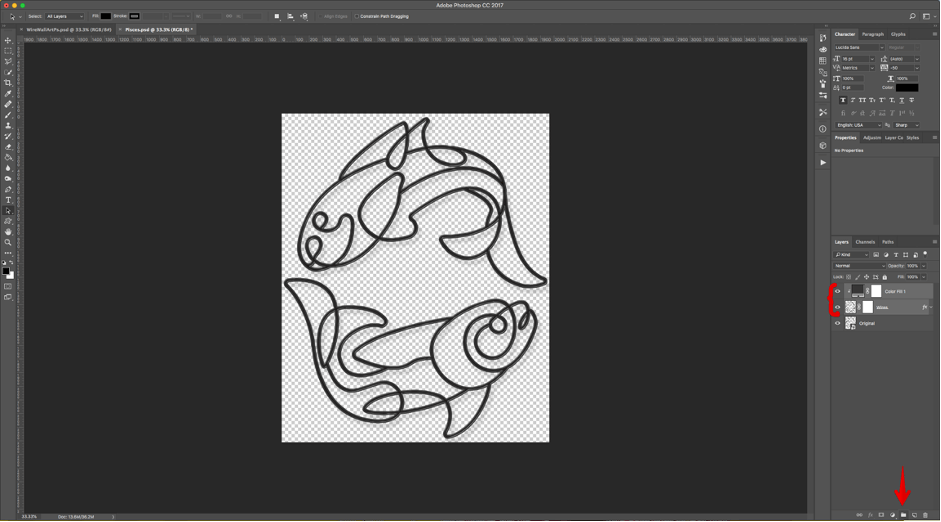
Step 20 – Create a ‘New Solid Color Fill Layer’ on top of everything by clicking on the small Black and White icon at the bottom of the ‘Layers Panel’ and use a Dark Grey (#373737) as ‘Fill’ color.
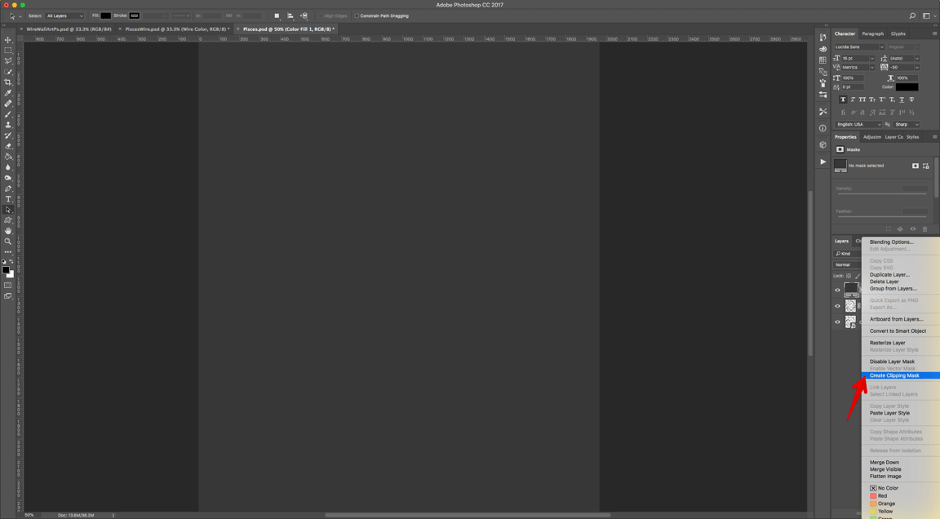
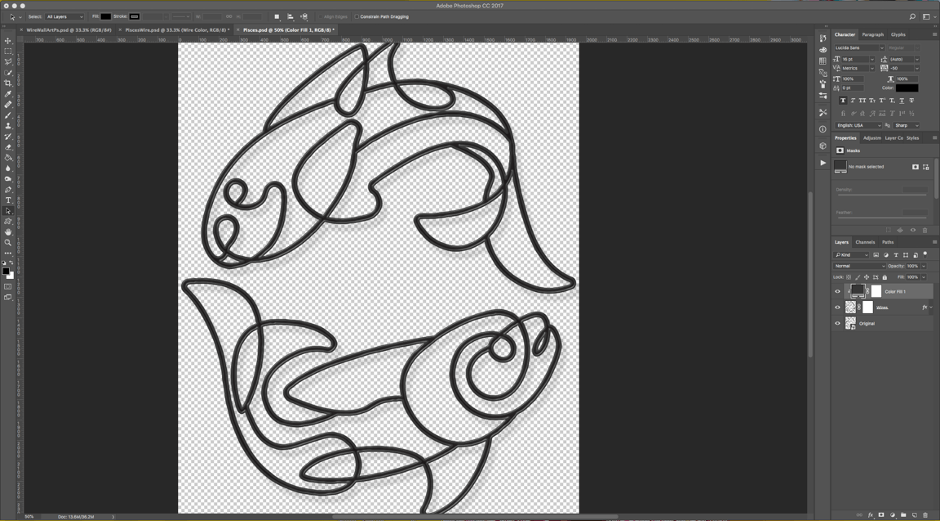
Step 21 – Right-click on top of the ‘Fill Layer’ Thumbnail and choose ‘Create Clipping Mask.’
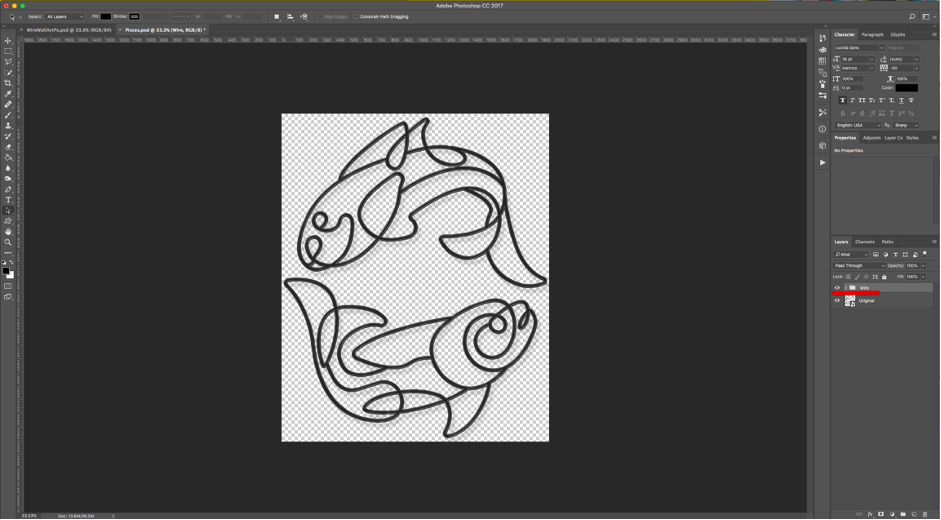
Step 22 – Select the top two layers (Color and Wires) and ‘Group’ them together by clicking on the small ‘Folder’ icon at the bottom of the ‘Layers Panel.’ Name the Group ‘Wire.’
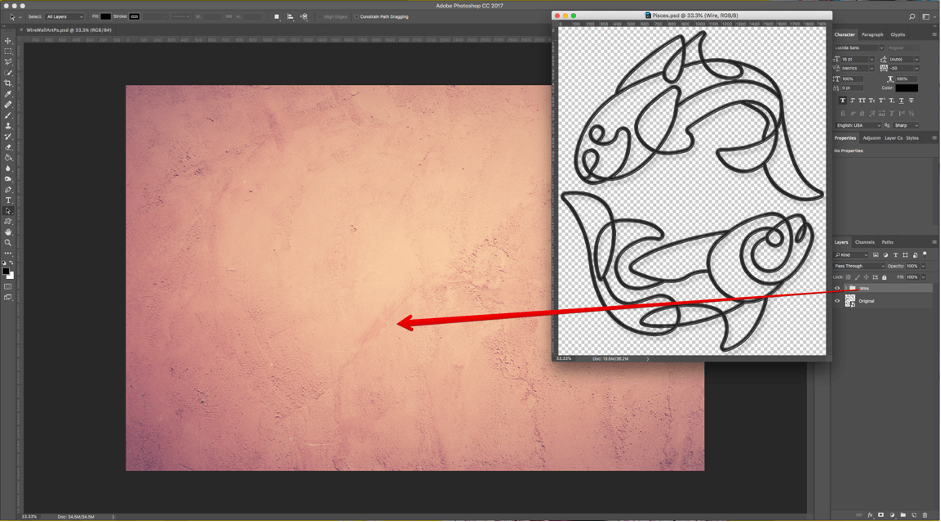
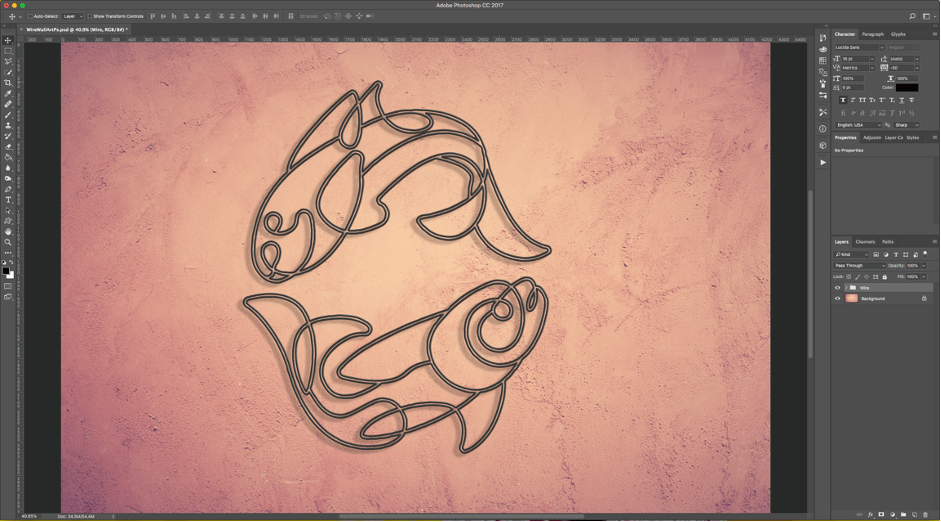
Step 23 – Bring the ‘Wire’ Group into the ‘Background’ Document.
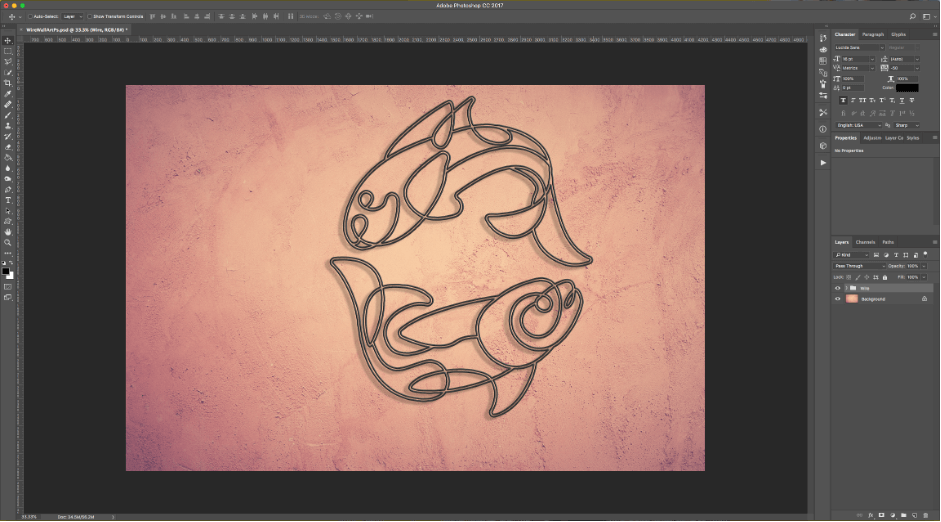
Step 24 – Resize and Rotate it if needed using ‘Free Transform’ (Command/Control + T). Click on the small Check Mark on the Top Menu or hit ‘Enter’ to ‘Commit’ the changes.